Clients Settings
Conveniently organize your data by grouping your clients using Categories. Saphyte adapts to your business processes by providing you with the ability to set custom statuses and sub-statuses (for example New, Contacted, Working, Waiting for Response, Not Interested, etc.) for easier categorization of your clients.
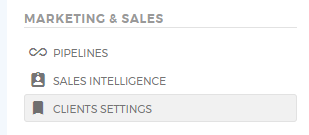
1. To start managing and customizing your categories, go to the Admin panel.
2. Under the Marketing and Sales section, click ‘Clients Settings’.
Clients Section Labels
In this section, you can customize the name of the category labels that will appear in your client section throughout the whole CRM.
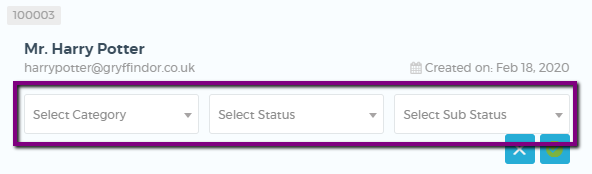
Editing the Clients Section Labels means that replacing the default section labels of category, status, and sub status. Please see the below screenshot.

Adding Categories, Statuses, and Sub-Statuses
1. Select the entity that needs a new Category. You can add a category for your leads, customers, or prospects.
2. Click ‘ Add Category’ to create a new category. Add more categories if required.
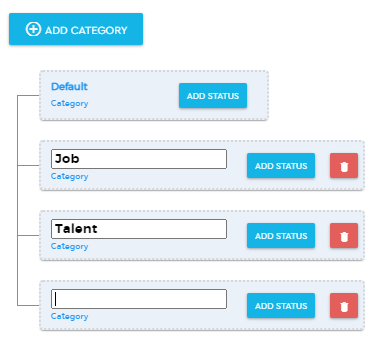
3. Once a new category is added, click on the ‘Add Status’ button to add a new Status.
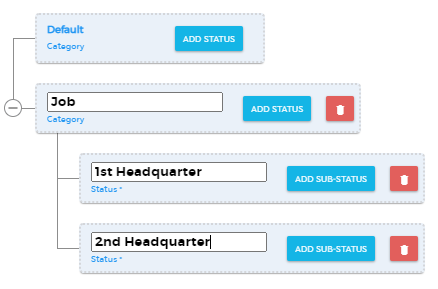
4. The Add Sub-status will only appear once a Status has been added. Click ‘Add Sub Status’ to add a sub status.

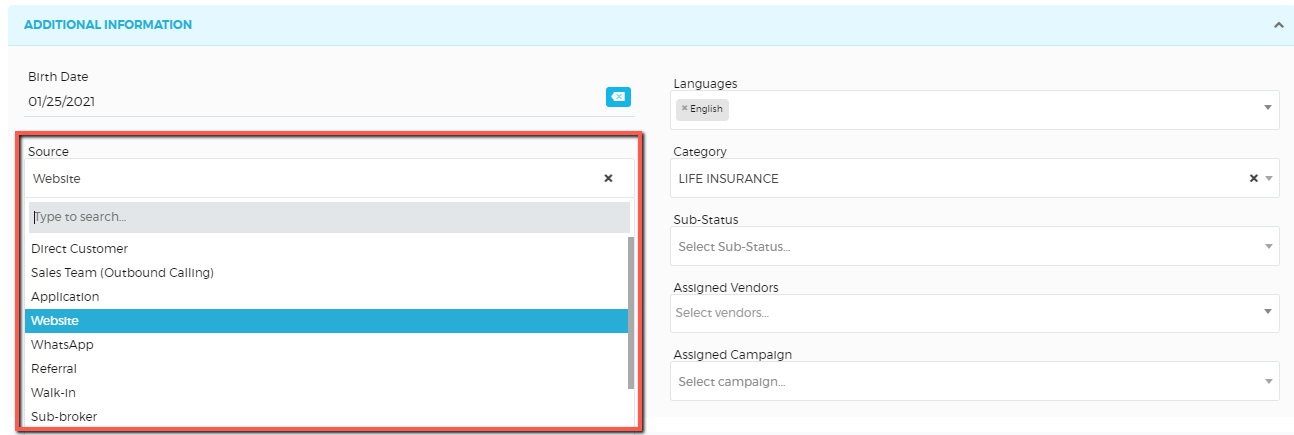
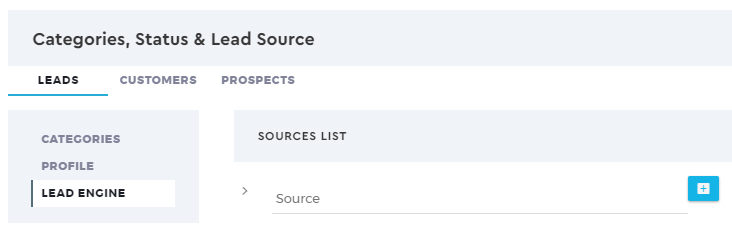
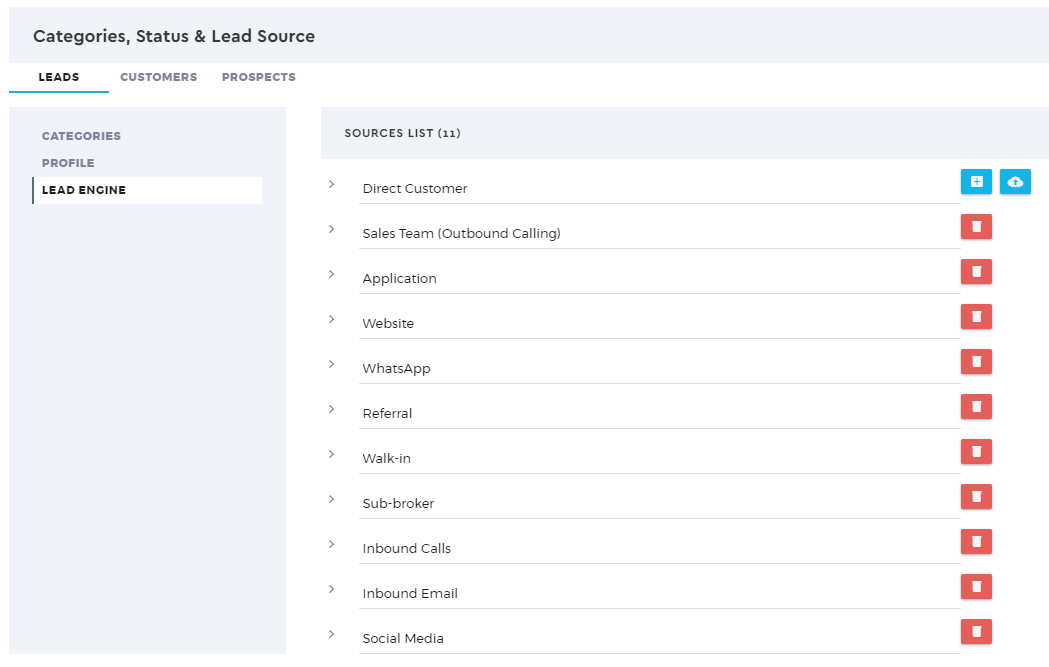
Adding Source List
Easily identify where your leads are coming from using the Lead Engine. The Lead Engine helps you to create a list of options from where your leads are being sourced from.
To add a source list:
1. Go to the Admin panel.
2. Under the Marketing and Sales section, click ‘Client Settings’.

3. On the Categories, Status, and Lead Source section, click the entity (Leads/Prospects/Customers) tab. Click ‘Lead Engine‘ and start adding your source by clicking the ‘+’ button. You can add different sources lists per entity.
4. Add sources by clicking  . To remove a source list, click
  .
.
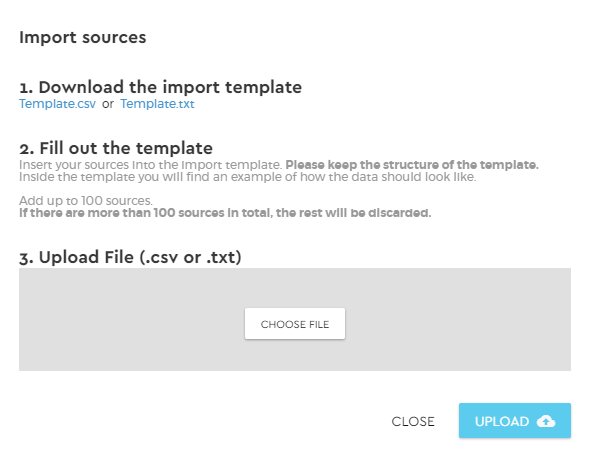
To easily import multiple selections, click on  . You can download the import template and follow the format. Click
  once done.
You can only import up to 100 source lists. Any options more than 100 will be discarded.
5. Once done, click the to save your data.
Now, you can assign the source to a lead. To learn how to add a lead, click here. You can also edit your existing lead profile and apply the source.