Configure Custom Fields
Custom fields are configured to make them appear on different entities as below;
- Contact
- Lead
- Prospect
- Customer
- Deal
- User
- Vendor
- Role
- Company
- Product Catalog

Note: Custom Fileds created on the Contact entity will be visible in Leads, Prospect, and Customer entity by default along with general fields. It is recommended to create all common Custom fileds in Contact entity itself and add any additional Custom fields in Leads, Prospect, and Customer section based on the necessity and business requirements.
1. Contact entity will only show up the custom fileds added in Contact entity.
2. Lead entity will display custom fileds on Contact and Lead entity.
3. Prospect entity will showup custom fields in Contact, lead and the ones created prospect entity.
4. Duplicate Custom Fileds will show an error message while we try creating them.All custom fields and general fields will be accessible in Customer entity with an Expand details icon for Customer, Contact, Lead and Prospect.

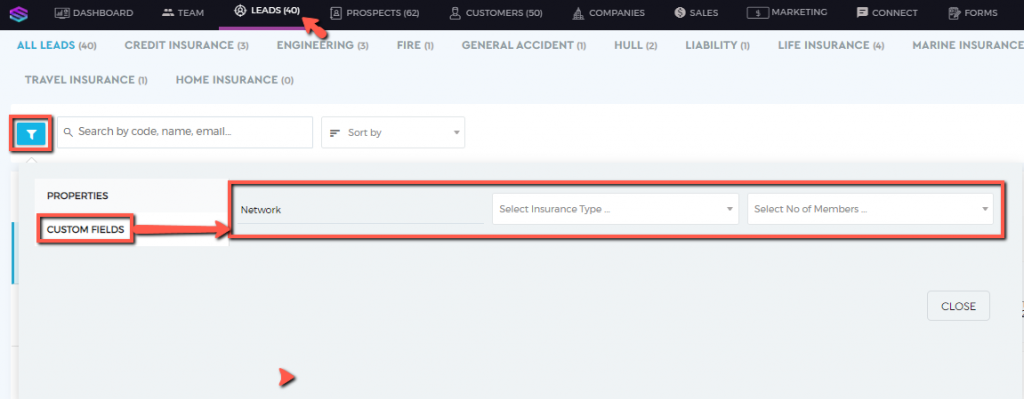
There are many options that will appear when you are setting up your custom field in any of your entities.

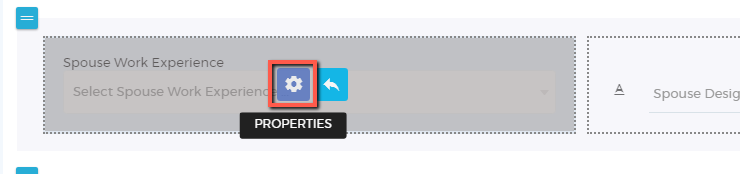
To configure the settings of your custom field, select the custom field you want to configure and click on ‘Properties‘ 
Under the ‘Custom Field Settings‘, you can find different configurations depending on the type of the custom field.
Required – This allows you to set the custom field as a required field. To activate or deactivate, just toggle the switch. This custom field setting is applicable to all types.
Searchable – This allows you to set the custom field as a search filter attribute in the different sections of your system (e.g. leads section). This custom field setting is applicable to all types except passwords.
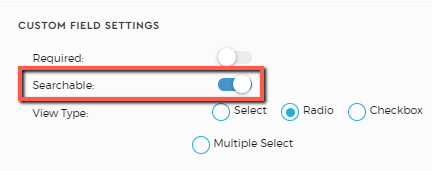
View Type – This setting only appears when you choose the type ‘List of Options’. You can configure how you want your list of options to be displayed: as a checkbox, radio button, select list, or multiple select (can select one or more choices at a time).


Multiple Items – You can enable the input of multiple items. For example, if you require 3 email addresses, you can click on the ‘+’ button. You can also set a minimum or a maximum number of items to be added. This setting is available to all types except for the list of options, date, date range, text area, password, and single option.
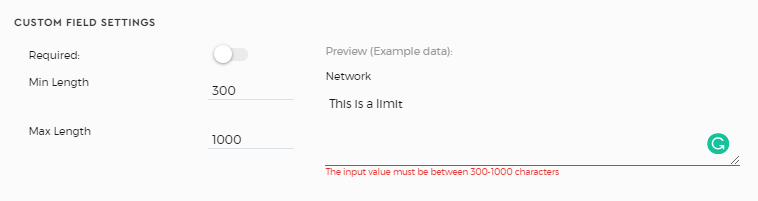
Min/Max Length/Date – You can set a limit on the number of characters or set a range for the date fields. This setting is only applicable to text, number, date, date range, and text area.