Create Custom Field
Creating a custom field is like building a form. To create custom fields:
1. Go to the Admin panel.
2. Under the Configuration settings, click ‘Custom Fields’
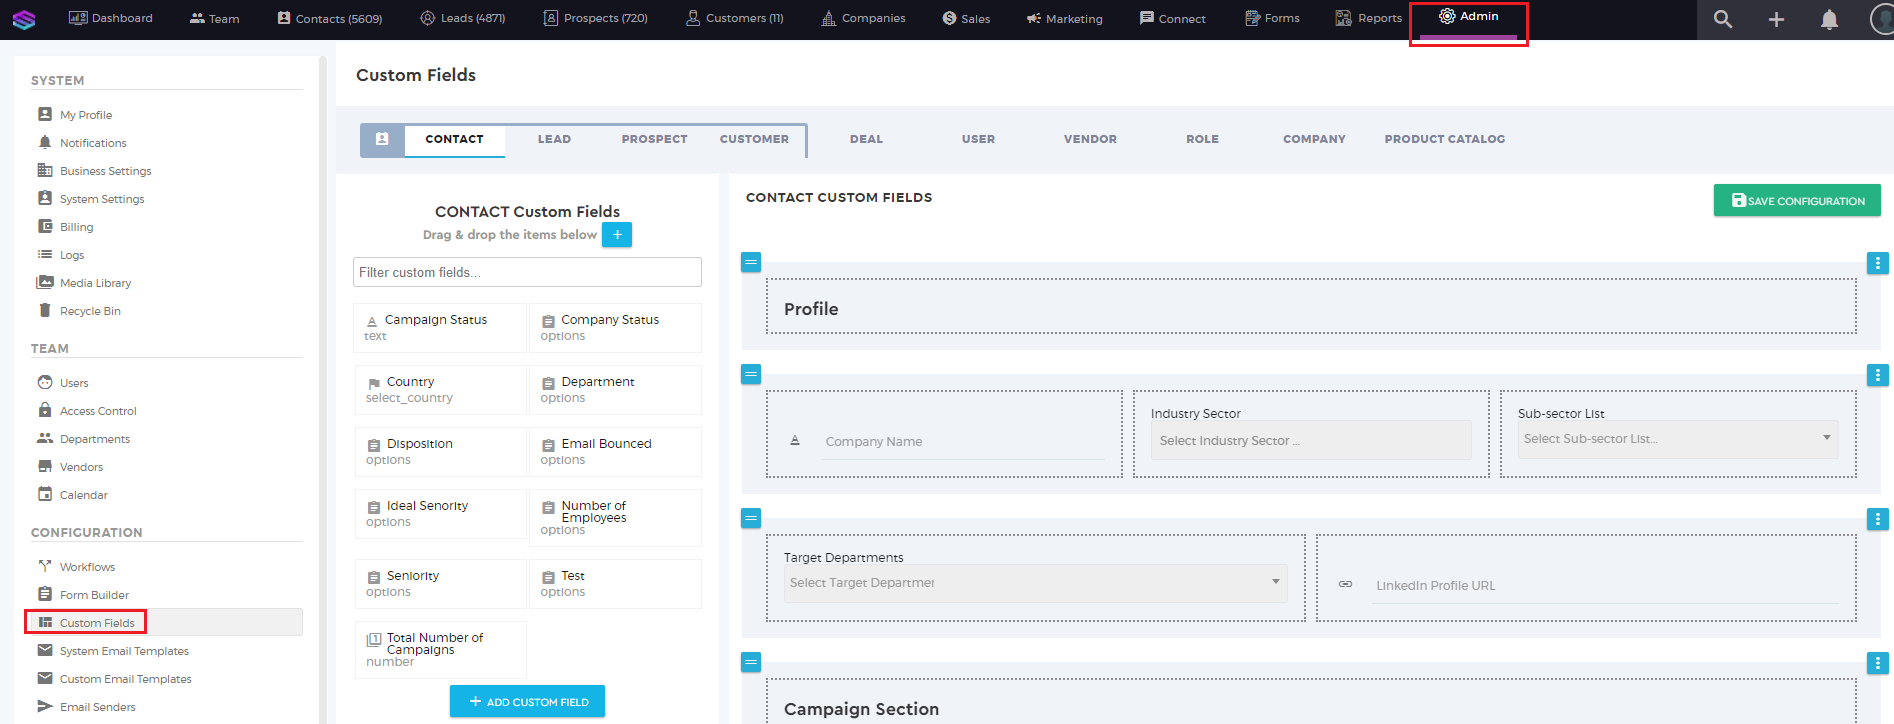
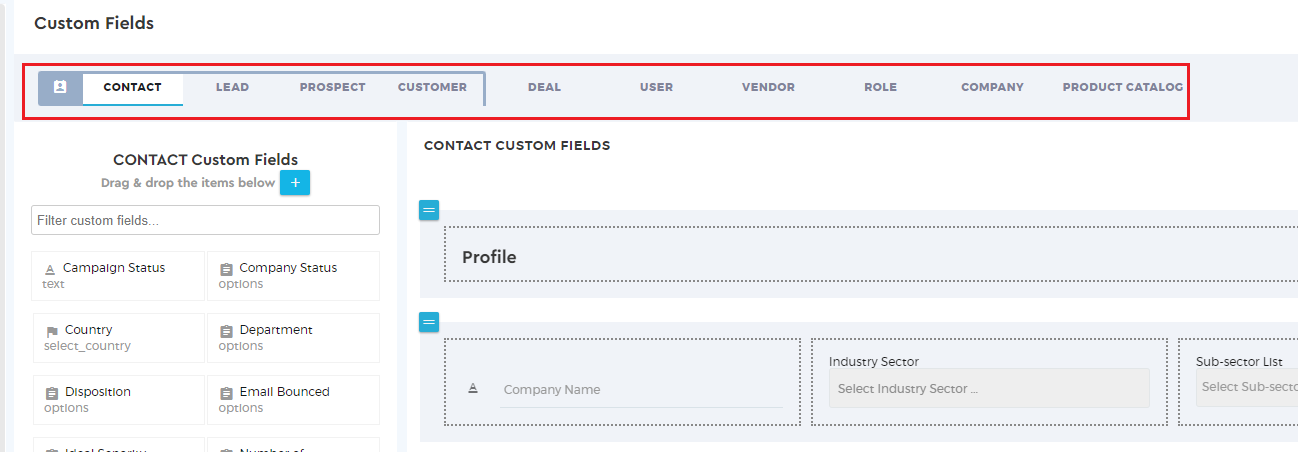
3. To add custom fields, click on the entity where you want a custom field to be enabled. The entities where you can add custom fields are:
- Contact
- Lead
- Prospect
- Customer
- Deal
- User
- Vendor
- Role
- Company
- Product Catalog
4. To add a custom field, you can either click  or
or 

5. You will be prompted to create a custom field ‘From Scratch’ or ‘Copy from Existing’
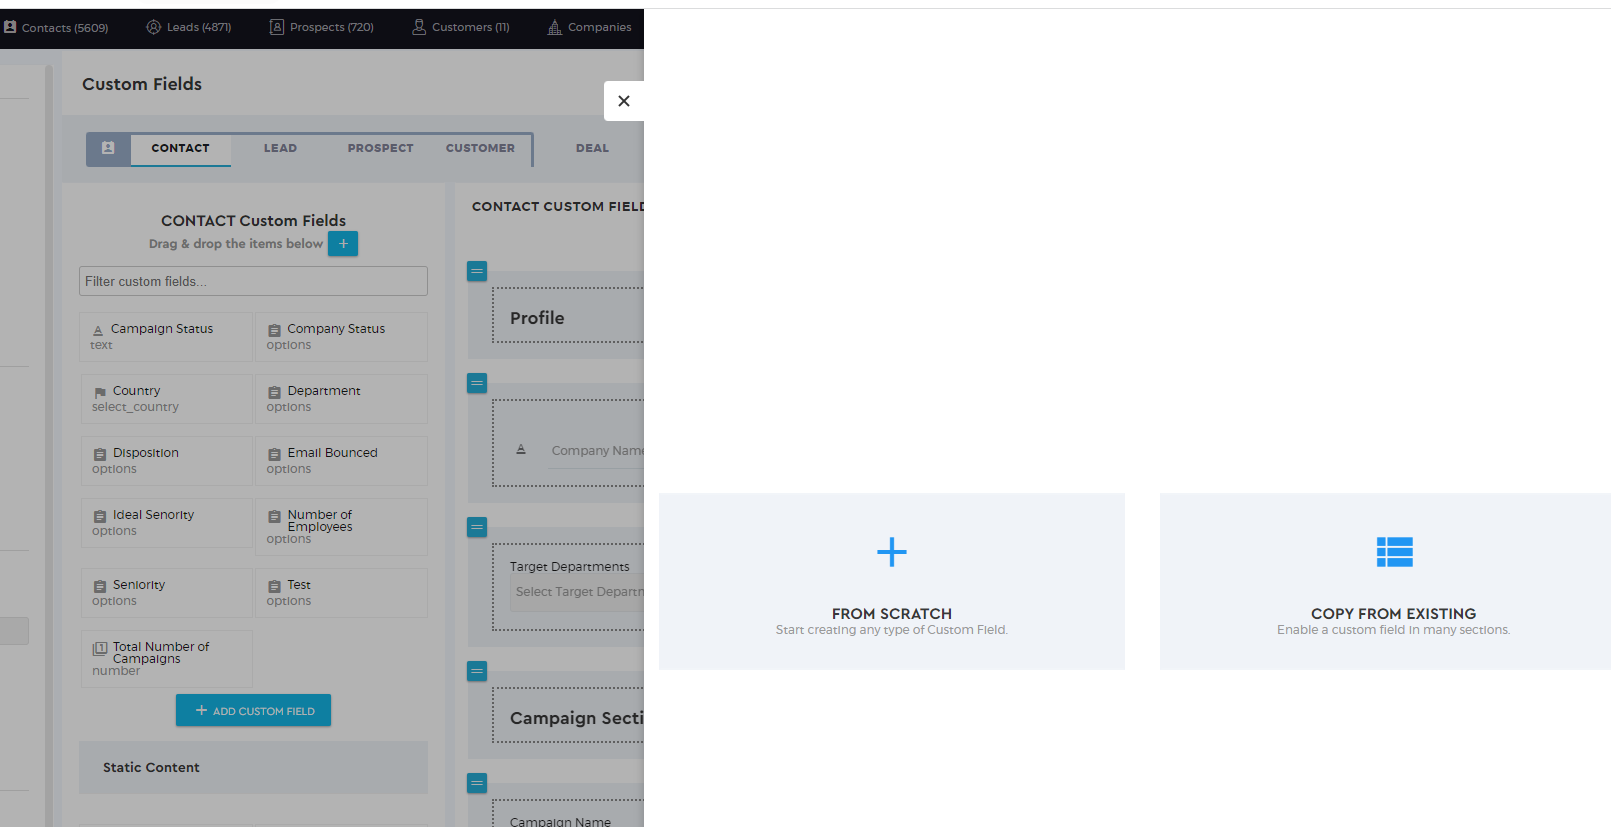
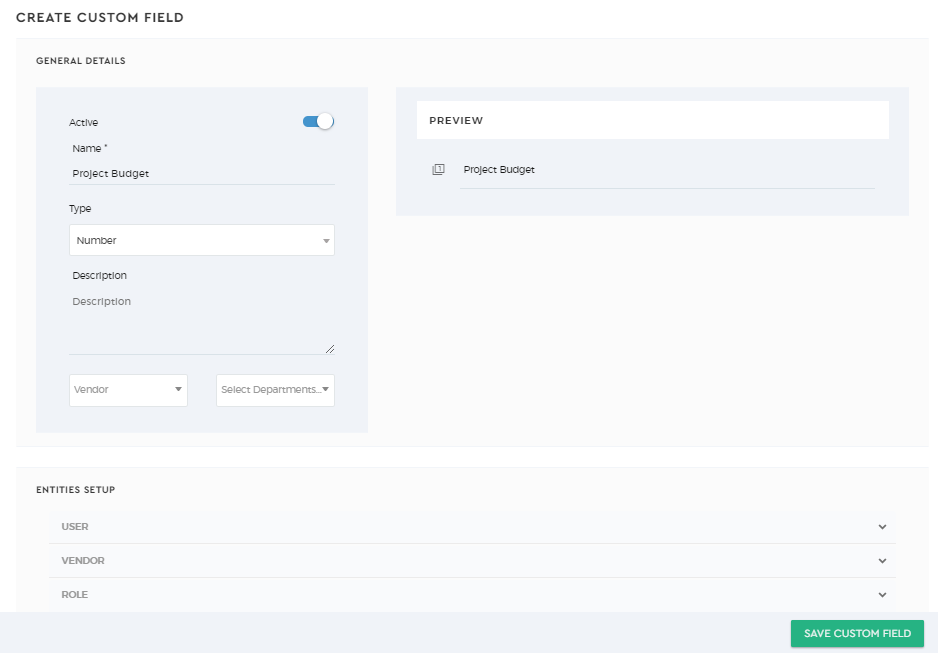
From Scratch
Creating a form from scratch means that this is a new field.

Start adding a new custom field by setting the name of the field, adding the description, and choosing which type of custom field.
The types of custom field correspond to the validation that will be done in the system.
For example, if the information you want to capture is an email address, then you have to choose ‘Email’ as the custom field type. By choosing the correct type, you tell the system to validate if the input follows the correct email format. Otherwise, by choosing a text type for the email address, the system will only validate if the field contains alphanumeric characters.
Once done, click on 
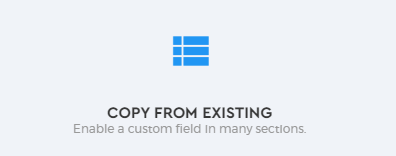
Copy From Existing
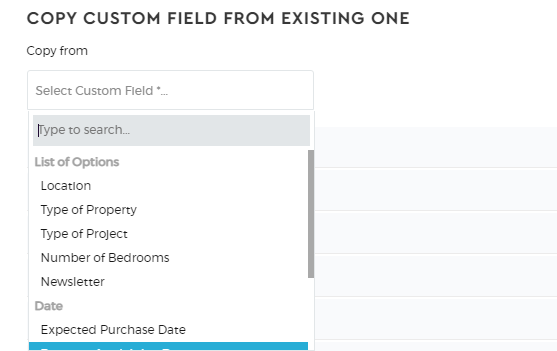
To enable an existing custom field into the other entities, select ‘Copy From Existing’
Select from the drop-down option the custom fields you would like to enable.
Choose which entity you want the custom field to be enabled.
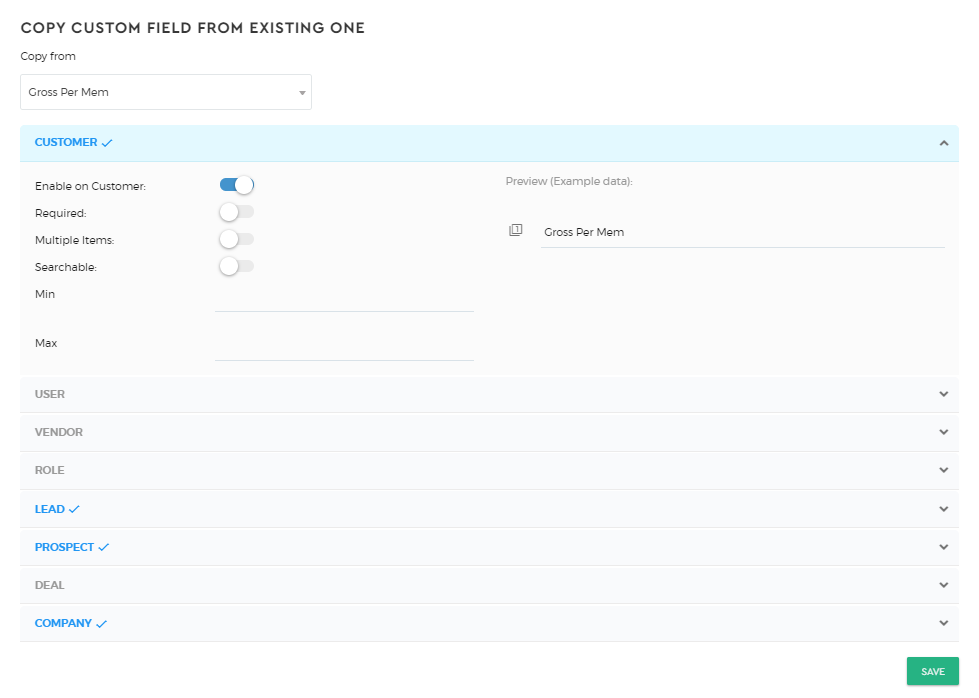
Click on  to save your settings.
Restrict Custom Fields
You can also restrict the visibility of these custom fields. You can allow only specific vendors or departments to view the custom fields you have created. Any vendors or departments that are not specified will not be able to view this custom field.

Import List of Options Data
One commonly used form field is the ‘List of Options’. This is used when you want a respondent to choose an answer from the multiple lists of options. In Saphyte, you can add up to 500 options to your list or you can also import your ‘List of Options’ in bulk.
When creating a custom field, choose ‘List of Options’ as the type.

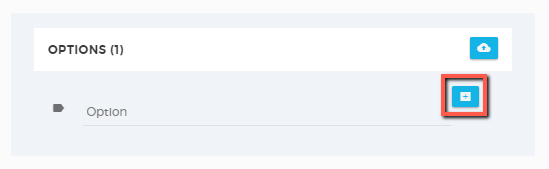
Click the ‘+’ button to add your options manually. (This is recommended if your list of options are less than 15)
If you have more than 15 options, we recommend you collate your list of options as an excel or text file and import them all at once. You can download the template to follow the format of the data.
To import, click ‘Import Options’, choose the file, and click ‘Upload’
Your list will be imported. Click ‘Save Custom Field’ to save your data.