Scheduled Emails
Automate sending your emails on a schedule. This workflow is useful when you want to send a newsletter or a promotion to your targeted list at a specific time.
To automate email schedule sending:
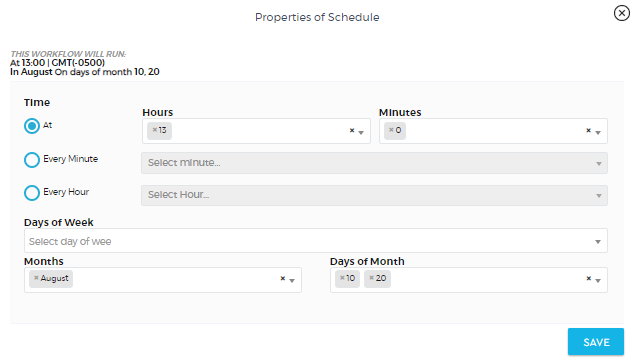
1. Drag the Schedule node as the initiator of your workflow. Double-click the Schedule node to set the timing on when you will send your email.
2. Set the exact time and date. You can choose to send the email at a specific time or by minute or hour interval. You can also choose to send it on different days of the week or on the exact days of the month.
3. Connect the ‘Send Email’ node to the Schedule node. The workflow will identify that sending an email is triggered based on the timing that was set on the Schedule node.

4. Double-click the ‘Send Email’ node to set up the properties of your email.
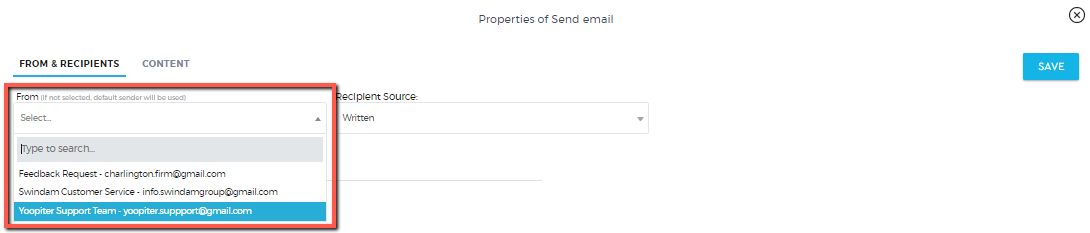
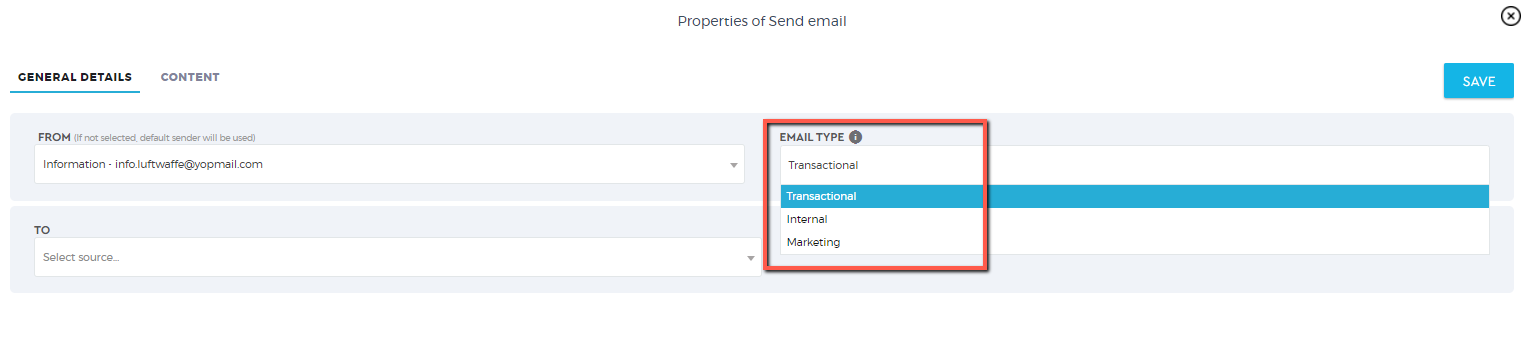
Transactional – Emails to be sent to your contacts database
Internal – Emails to be sent to your internal users or vendors
Marketing – This is used for drip email marketing analytics
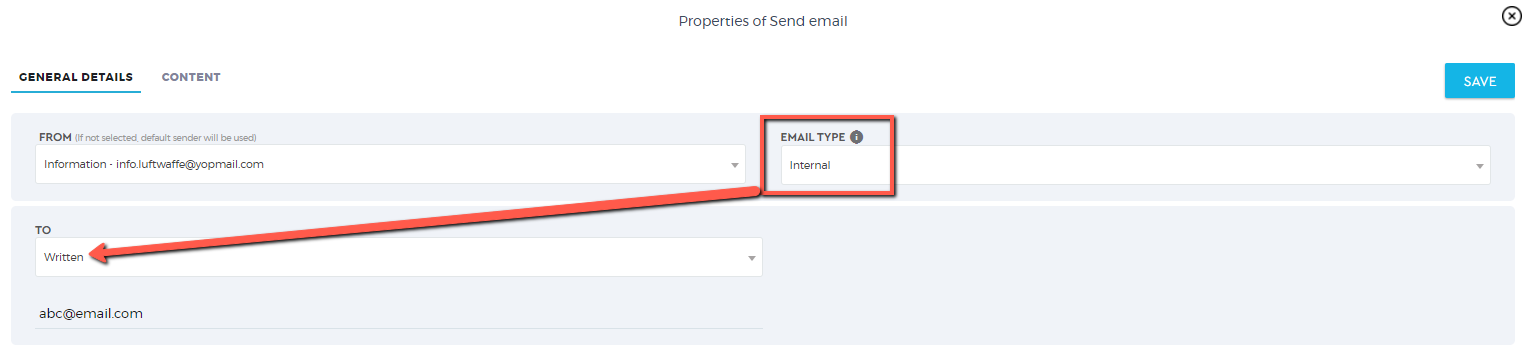
Email type: Internal
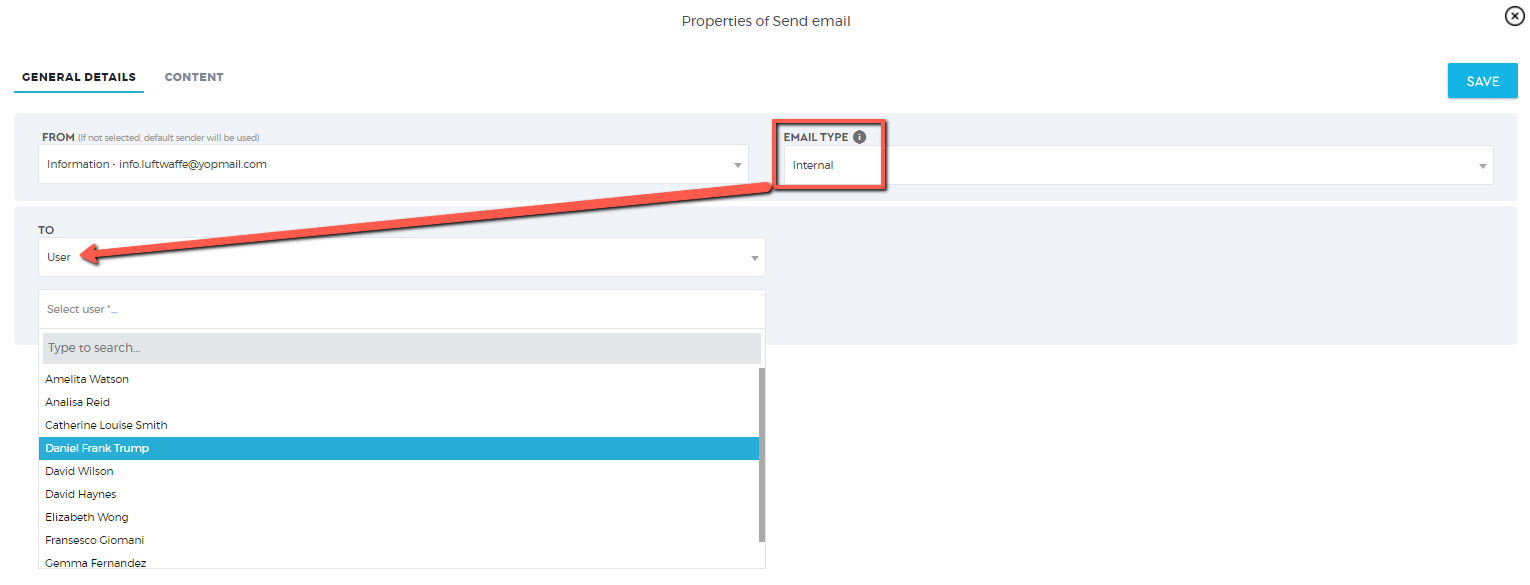
Email type: Internal
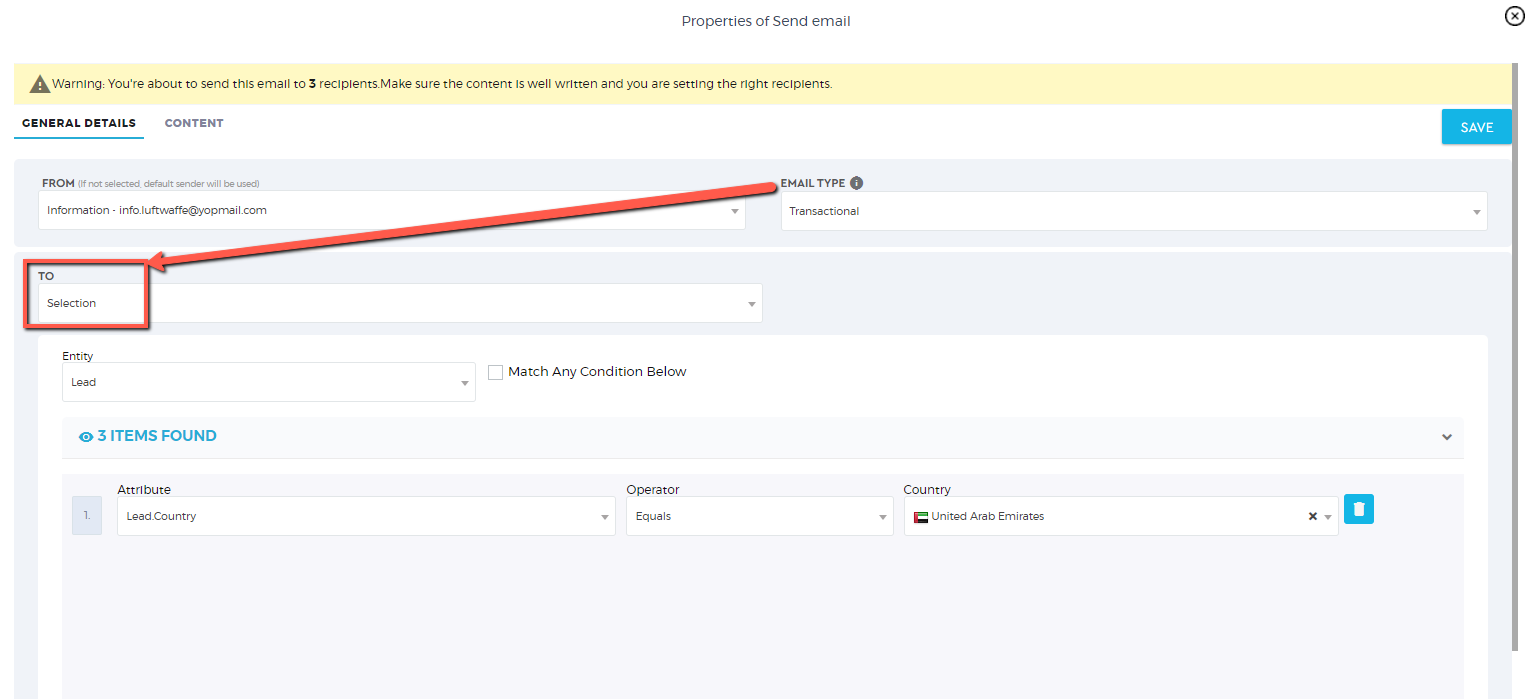
Email type: Transactional

5. Add the name of your workflow and enable it to ‘Active’. Once done, click the ‘Save’ icon.