Email Calendar
There is nothing easier than managing your schedules in a single place. Saphyte lets you sync your tasks to your email calendars such as Google and Outlook. This integration can greatly help you ensure that your tasks due dates are aligned with your priorities and you can manage your tasks conveniently using the scheduling tool that you are most familiar with.
Google Calendar
To sync your tasks with Google Calendar:
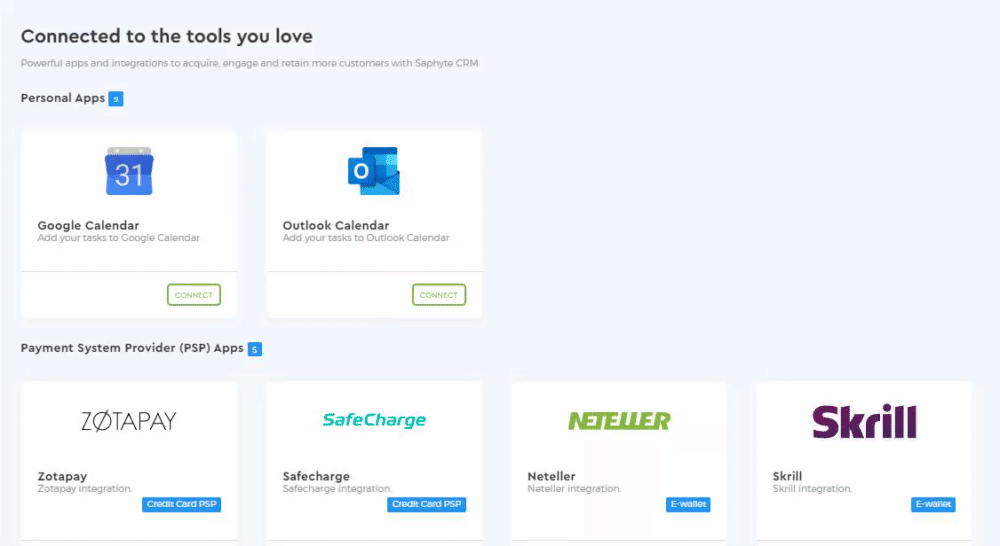
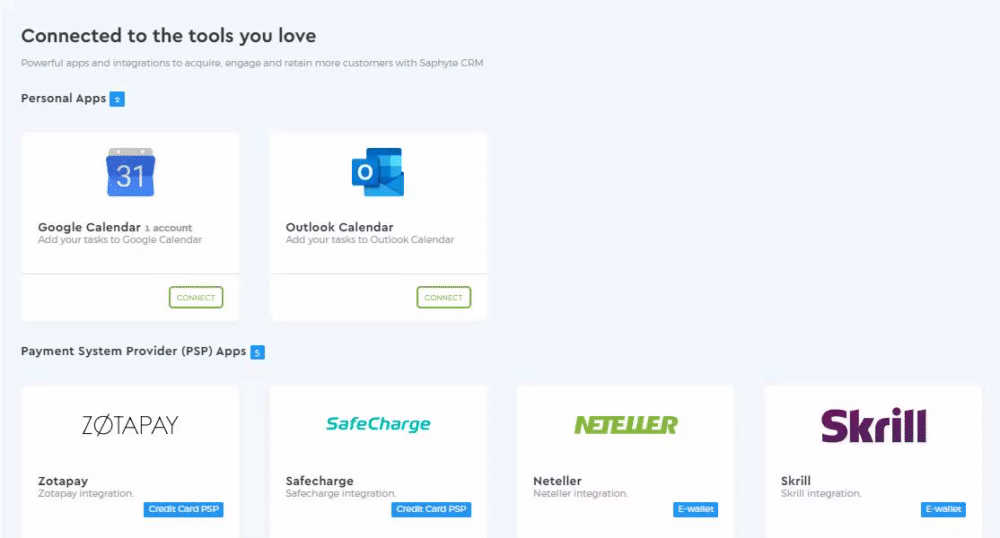
1. Go to the Admin panel and click ‘App Marketplace’ under the Integrations menu

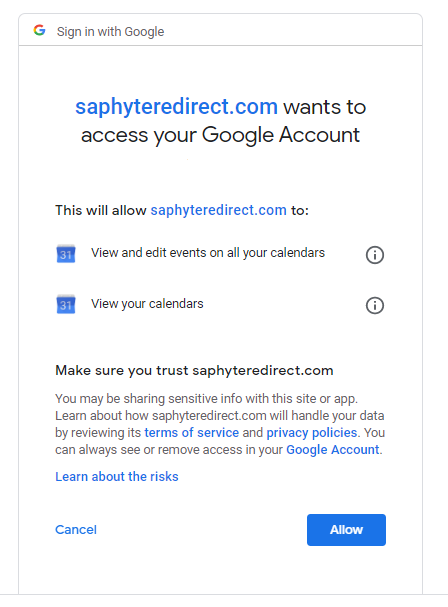
2. Click ‘Connect’ on the Google Calendar option. Integrate your email by signing in using your Google Account. Note: You can also add multiple email calendars all at once.
3. Provide access permission to Saphyte by clicking ‘Allow’. You can read Saphyte’s Terms of Use and Privacy Policy before proceeding.
4. Once you have successfully logged in your account, it will be an active calendar by default. The Active status means that it is available to be selected as a calendar for syncing your tasks. To deactivate your calendar, just tick the active button.

5. You can also configure the settings of your calendar by clicking the ‘pencil’ icon. The ‘Sync All Events’ allows you to choose if you want to have all of your tasks created automatically added to your integrated accounts.

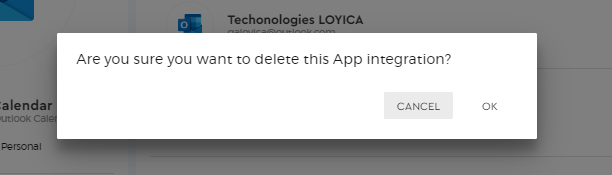
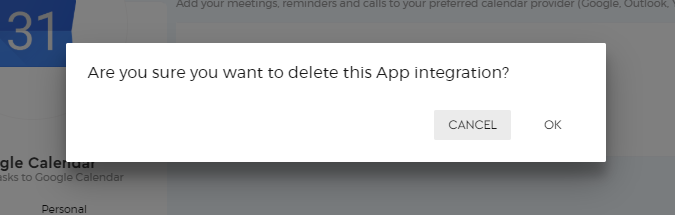
6. You can also remove your account from the system if you do not want to use by clicking the ‘Bin’ icon 
.
Outlook Calendar
1. Go to the Admin panel and click ‘App Marketplace’ under the Integrations menu
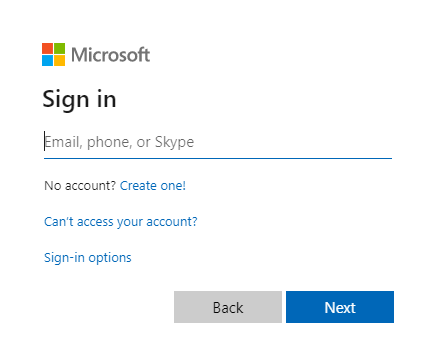
2. Click ‘Connect’ on the Outlook Calendar option. Integrate your email by signing in using your Microsoft Outlook Account. Note: You can also add multiple email calendars all at once.
3. Sign in using your Microsoft Account
4. Provide permission to Saphyte by clicking ‘Yes’. You can read Saphyte’s Terms of Use and Privacy Policy before proceeding.

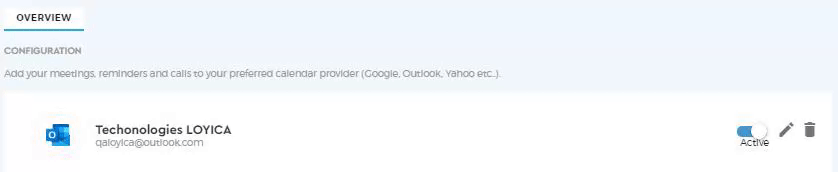
5. Once you have successfully logged in your account, it will be an active calendar by default. The Active status means that it is available to be selected as a calendar for syncing your tasks. To deactivate your calendar, just tick the active button.
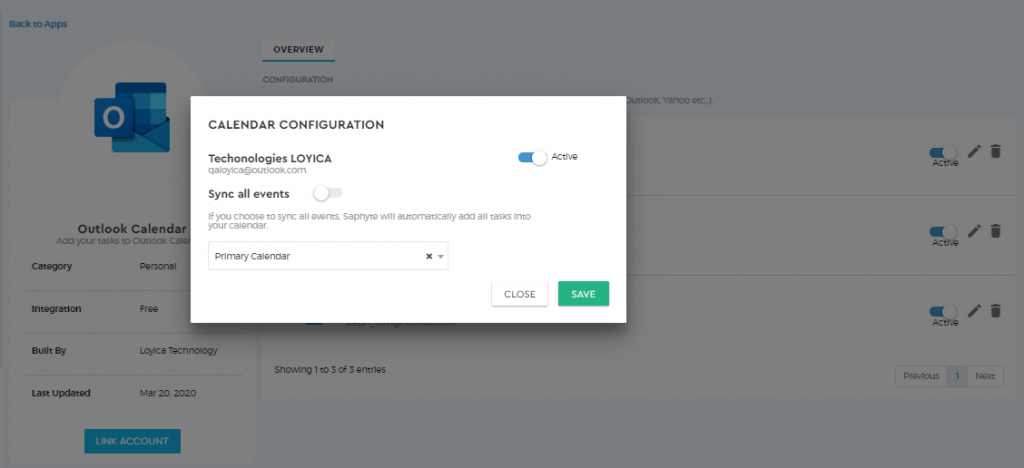
6. You can also configure the settings of your calendar by clicking the ‘pencil‘ icon. The ‘Sync All Events’ allows you to choose if you want to have all of your tasks created automatically added to your integrated accounts.
7. You can also remove your account from the system if you do not want to use by clicking the ‘Bin’ icon