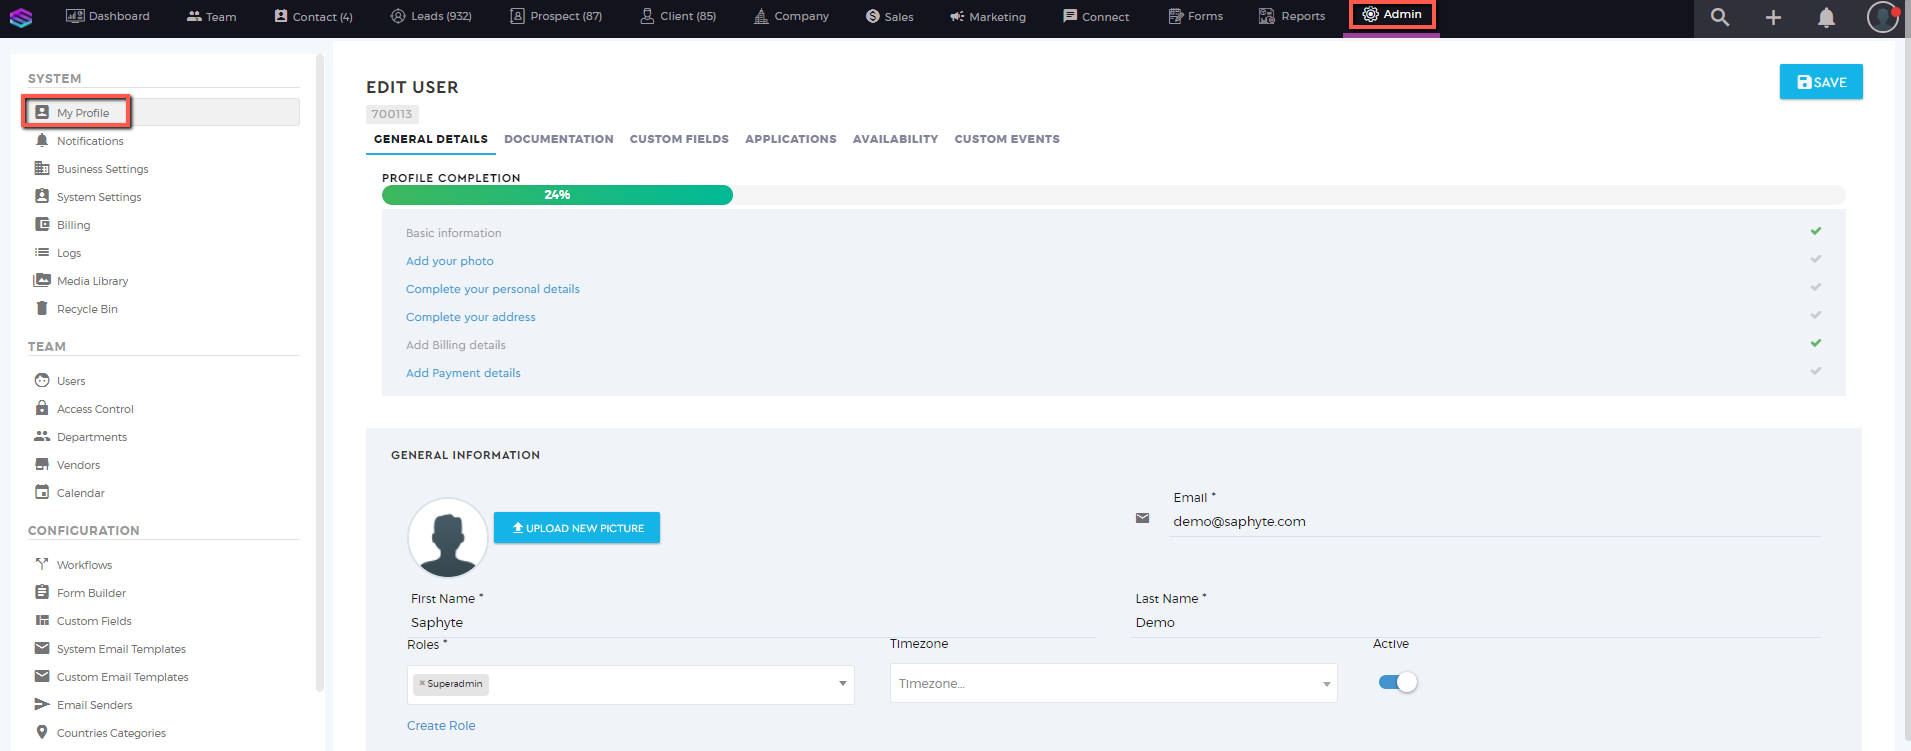
Set Up ‘My Profile’
‘My Profile’ consists of the user’s general details like name, email id, roles assigned, date of birth, active and inactive status, and a few more. This section is also associated with the user’s profile-related documentation, applications signed up for, and availability schedule for the custom events organized by the user. It also shows the percentage of completeness of the profile when it is updated.
How to set up your Profile?
1. Set up your User Profile by going to the Admin panel and clicking ‘My Profile’ under the System settings.
2. Fill out all the required fields.
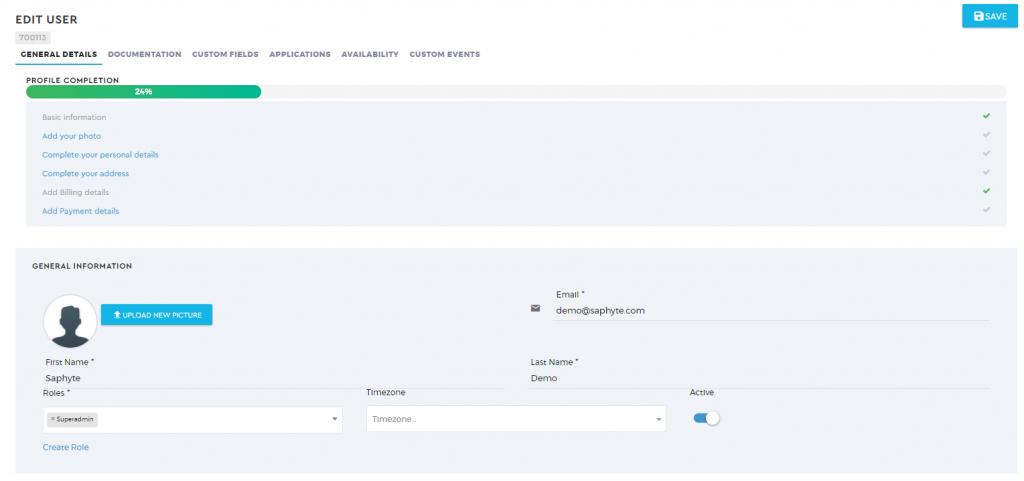
General Details
Under the General Details tab, it allows you to edit your general information, additional information, and address information.


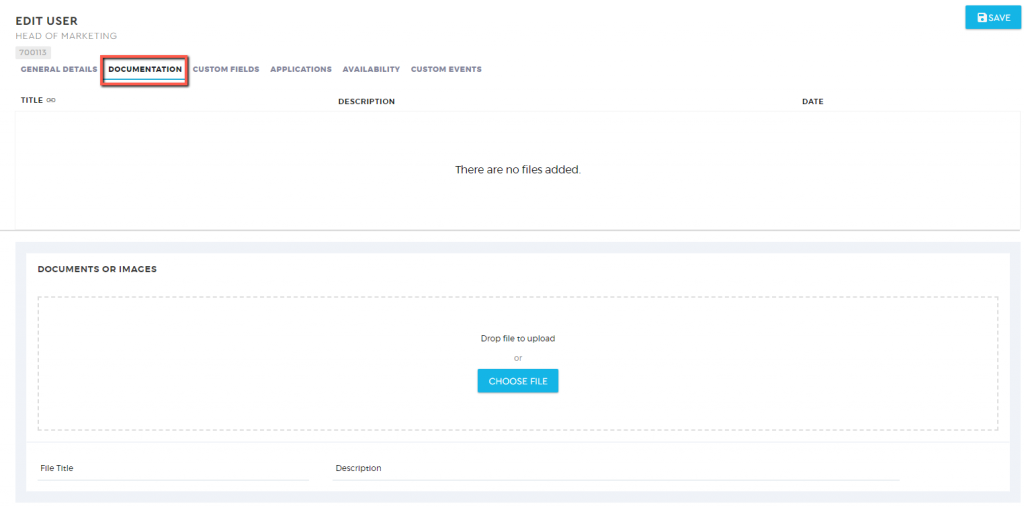
Documentation
You can upload any documentation (e.g. Emirates ID, Passport Copy, Driver’s License, etc.) by clicking the ‘Documentation’ tab.
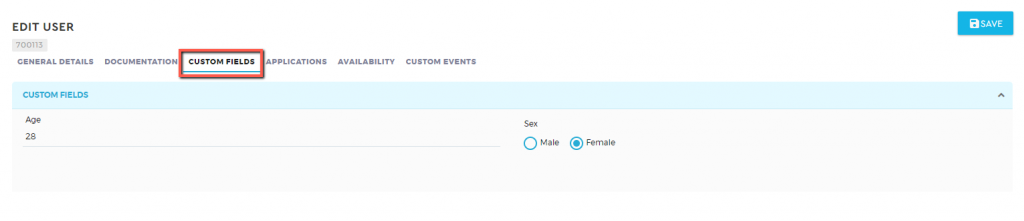
Custom Fields
Fill out additional information under custom fields. Note that the custom fields are set up according to your process.
Applications (Only Available in the Enterprise Plan)
The Applications tab allow you to input the Agent Code of this user profile. This should be filled only if the Voiso Integration is activated in your plan.

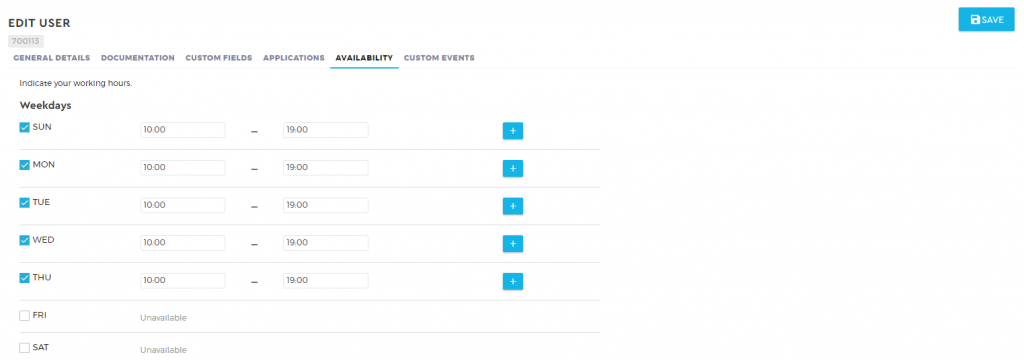
Availability (Only Available in the Enterprise Plan)
The Availability can be only configured when you have the Calendar feature activated (available in the Enterprise plan). Under the availability tab, it allows you to set your working hours and availability so that your clients will know the available slots to book an appointment with you.
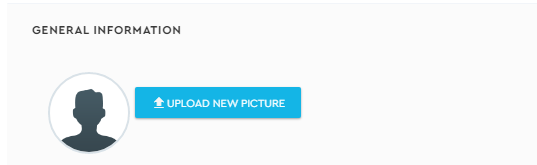
4. You can also upload/change your user profile picture. Click the ‘Upload New Picture’ icon and a pop-up window will appear to enable you to upload your profile picture in the formats of PNG, JPG, JPEG
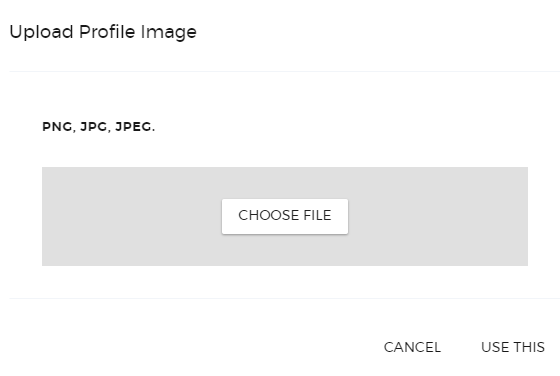
5. Click ‘Use This‘ to set the image as your display picture.
6. Click the ‘Save‘ button once done.