Custom Email Template
The Custom Email Template feature lets you customize the layout of your email template for a more personalized touch. This way, you could easily represent your brand and company identity.
To add a custom email template:
1. Go to the Admin panel.
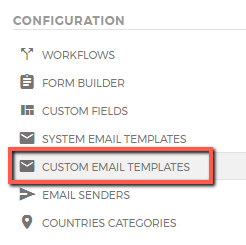
2. Under the Configuration setting, click on ‘Custom Email Templates’.
3. Click  to start adding a custom template.
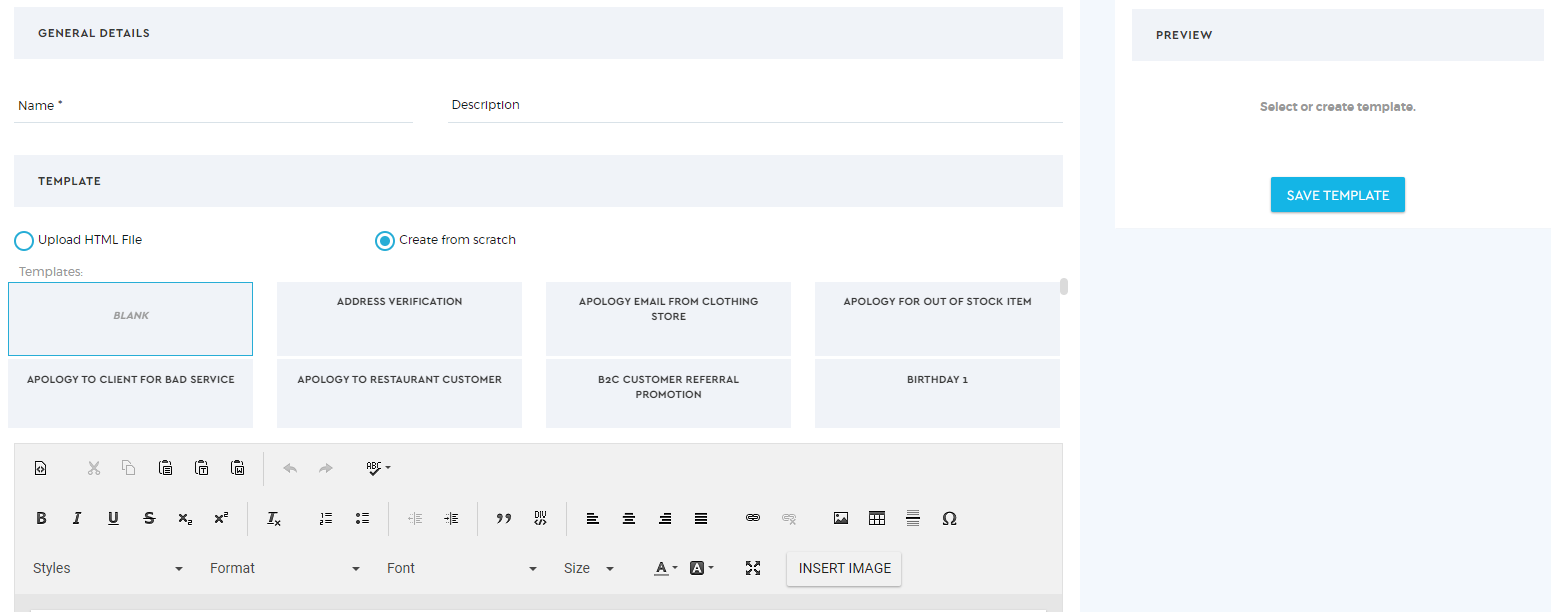
4. Name your custom email template by filling out the Name and Description.
5. You have two options to edit the system email templates:
- Create from Scratch – this lets you create your own template and content by clicking one of the two choices:
- Blank – this lets you create your template and content completely from scratch. You can use the content editor tools to help you build customized templates.
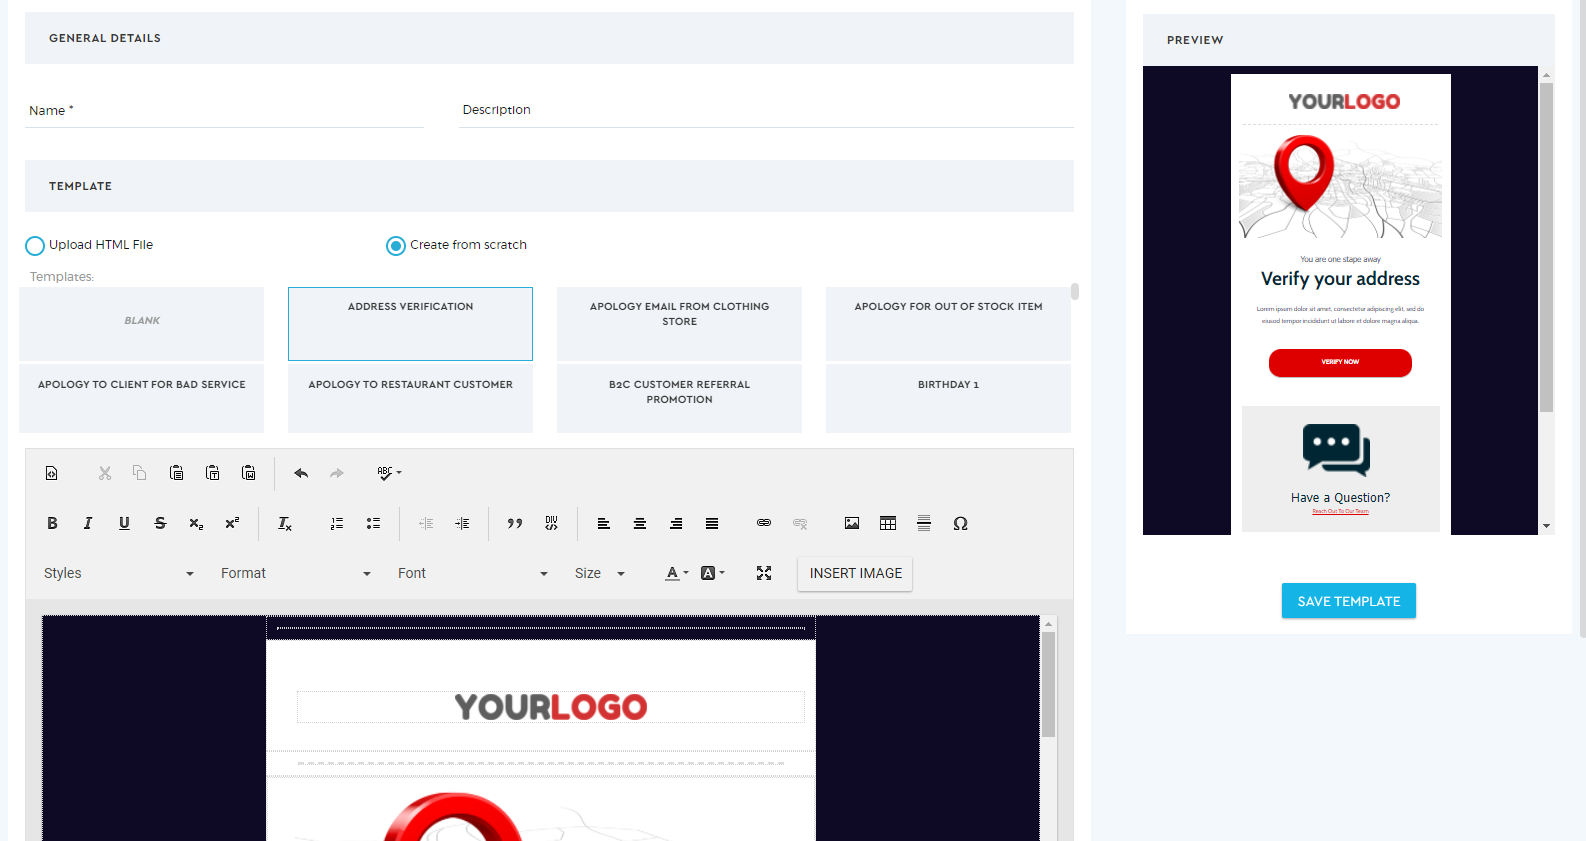
- System Templates – these are pre-designed system templates that you can edit and make more personalized templates for your emails.
Every time you modify the template, you will be able to view your changes on the ‘Preview’ panel.
- Upload HTML file – if you have designed your email template using HTML, you can upload the HTML file via the drag and drop option or upload it by clicking ‘Choose File’.
6. When creating email content in Saphyte, you can set your own parameters. Parameters are variables that you can set in your email content that automatically pull up the data from your existing database and populate it as an input value on the specific attributes you have set.
i. For example, if you are sending an email to your clients and would want to address them with their first name, you can set the parameter as; Dear {{lead_firstname}}. Given that your client’s name is Johnny Bravo when the client receives the email, it will appear as Dear Johnny.
ii. If you want to include his last name, then adjust the parameter to Dear {{lead_firstname}} {{lead_lastname}}, hence your email will read as Dear Johnny Bravo.
iii. Entity name will change for parameteres from Lead, Prospects, Customer or any other customise entity that Client may have configured in their workspaces.
For example;
{{Prospect_firstname}}
{{Prospect_lastname}}
{Customer_firstname}}
{{Customer_lastname}}
{{first_name}}
{{last_name}}
7. Click on  to Save updates done in the Custom email template.