Create a ‘Form from Scratch’
1. First, go to the Admin panel.
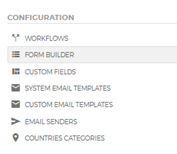
2. Under the Configuration tab, select ‘Form Builder’.
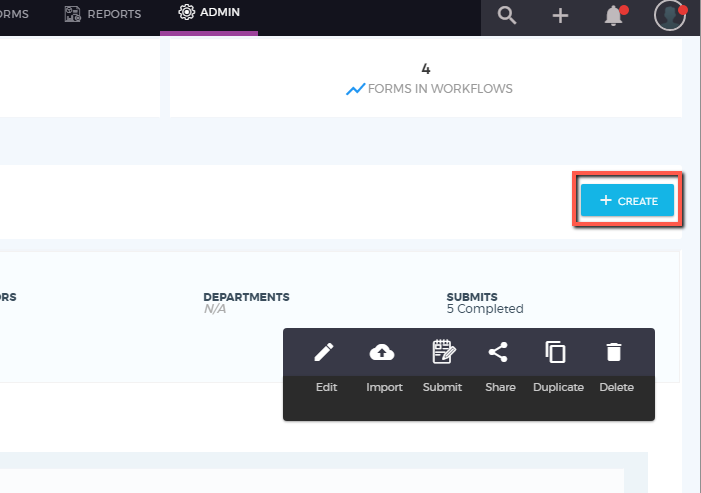
3. To create a new form, click on the ‘Create‘ button located on the upper right side. A pop-up message will appear asking you to select how you wanted to start with your form.
4. Select ‘From Scratch’ from the options. This will let you customize the form elements depending on what information you require from your clients.

5. The form will be created based on the form elements you add to your form builder. Fill out the ‘Form Name’ and ’Step Name’.
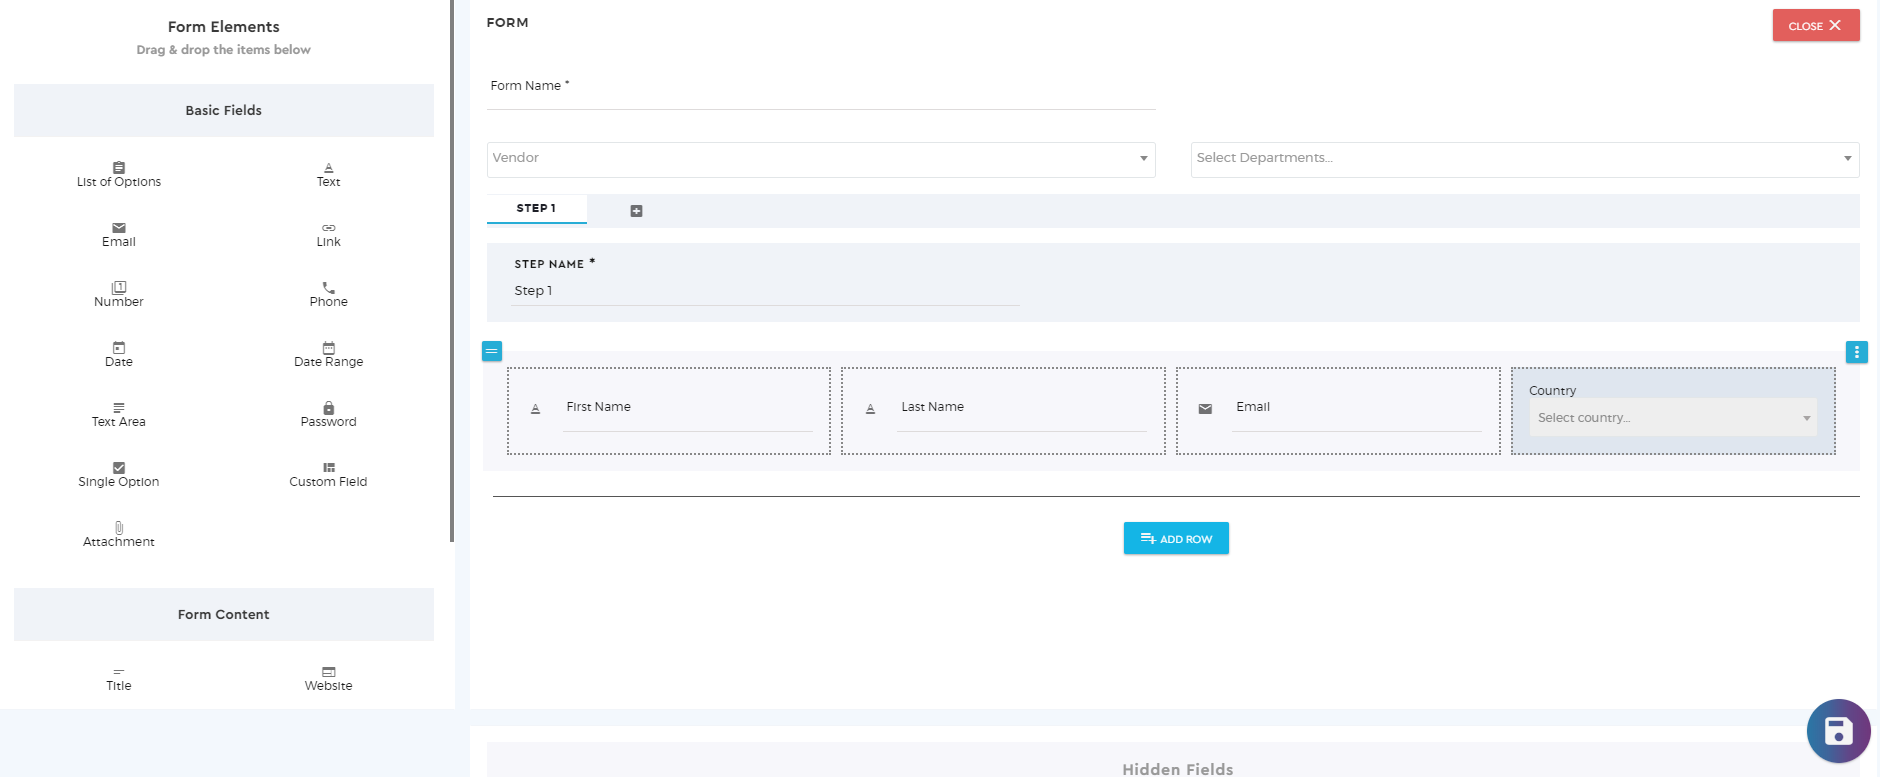
6. You can add steps or stages depending on your preferences by clicking (+).

7. The Form Elements are located on the left side of your workspace. Drag and drop the elements to the form builder space. Click ‘Add Row’ to add more rows to your form layout.
Note: You can add an unlimited number of rows but you can only add a maximum of four elements in a row.
8. Customize every piece of information and error message that appears in your live web forms.
- Field Name (Mandatory Field)
- Options (List of Choices)
- Behavior
- Option to add a Custom Error Message
- Option to set Handle Score – Applicable only when ‘List of Options’ element is selected
- View Type (Select, Radio, Checkbox, Multiple) – Applicable only when ‘List of Options’ element is selected

9. When you are done creating your customized web form, click the ‘Save button’  located at the bottom right side of the screen.
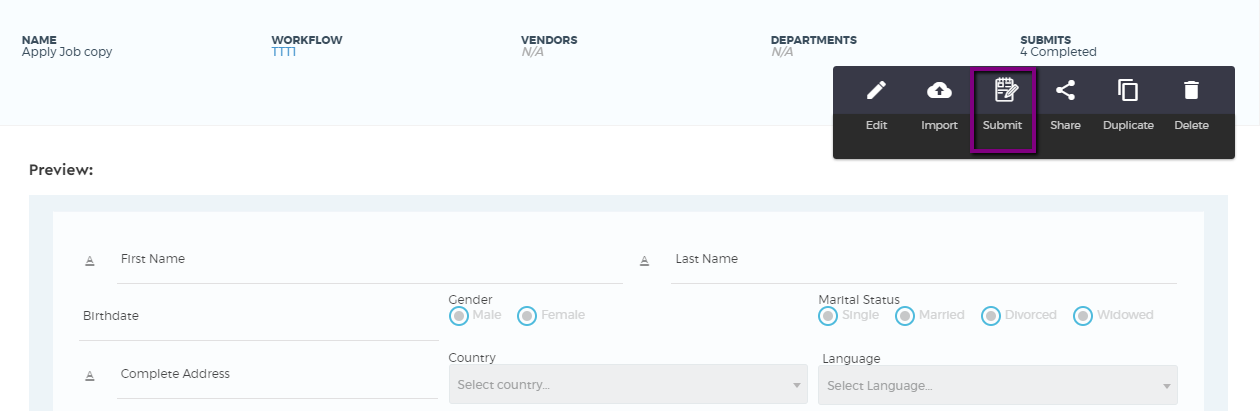
10. After saving your request, it will direct you back to the ‘Form List’ page where you can check the preview of your created form.
11. Click the ‘Submit’ button to preview the created form.