Configure Email Sender
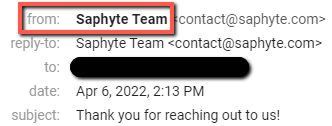
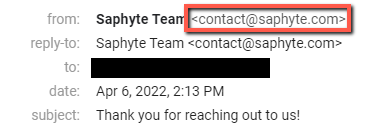
Email Sender is a tool where you can sync different email addresses with Saphyte and select which email will be the sender email. The Email Sender you choose will appear in the ‘From:’ field in the email received by the recipient.
To configure your email sender:
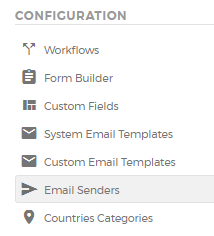
1. Go to the Admin Panel.

2. Under the Configuration settings, click ‘Email Senders’.
3. Under the Email Senders tab, click on the  button.
Before you add an email sender, make sure to authenticate your email domain first.
4. Fill out the required details.
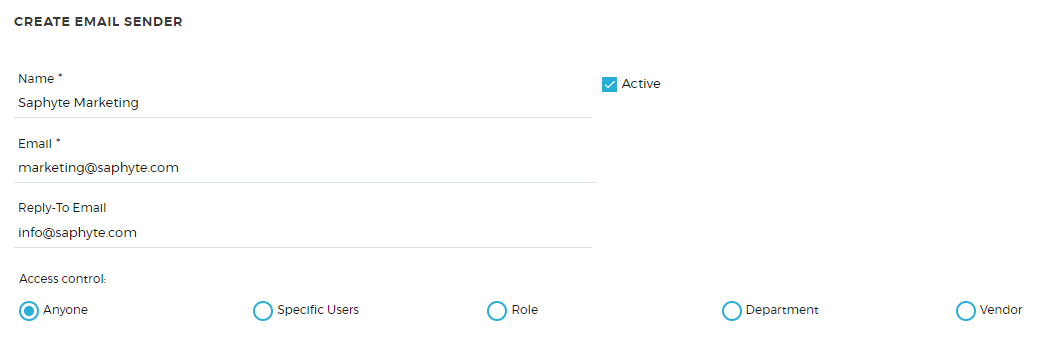
- Name – the Sender name you want to display on the From: field
- Email – this is the email you will use to send the email to the recipients and will appear in the From: field
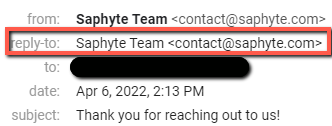
- Reply-to address – the email address that the reply message is sent when you want the reply to go to an email address that is different than the From: address
- Control who can read and use the email address by applying permissions based on different conditions.
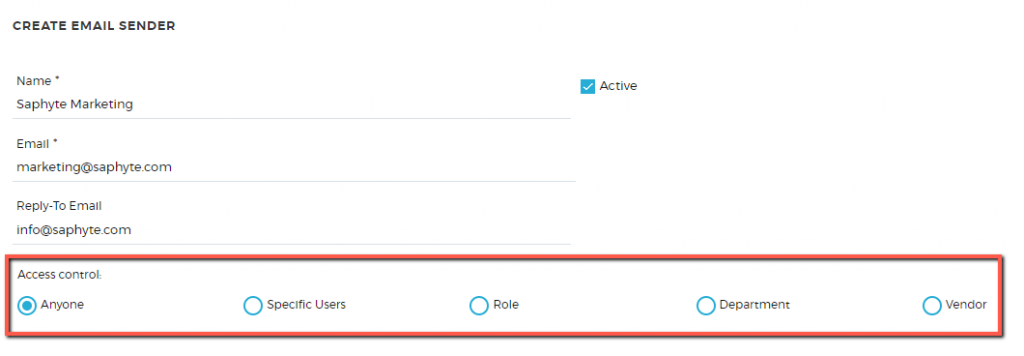
- Tick the ‘Active’ box if you want to enable the email address to be used live in your workspace.
5. Upon clicking ‘Save’  , the email sender will be available in the list and can be used only if it is authenticated and verified.
If the email domain you are trying to add is not yet verified, you have to verify the email address first. A verification code will be sent to the email address that you are trying to add.
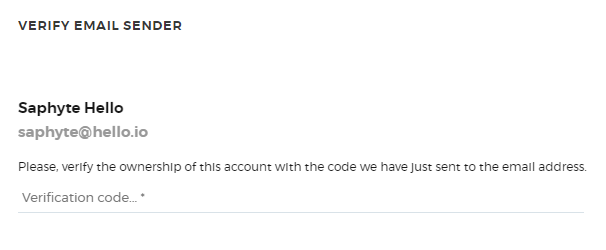
6. Enter the verification code and click ‘Verify’. Once the code matches, you will get a confirmation message that the email has been successfully synced and ready to use. You can also select to ‘Verify Later’ and this will save the email sender on the list for future verification.

To delete an email from your email sender list:
1. On the Email Sender settings, you will see the list of the emails that you have configured to be email-sender in the CRM.
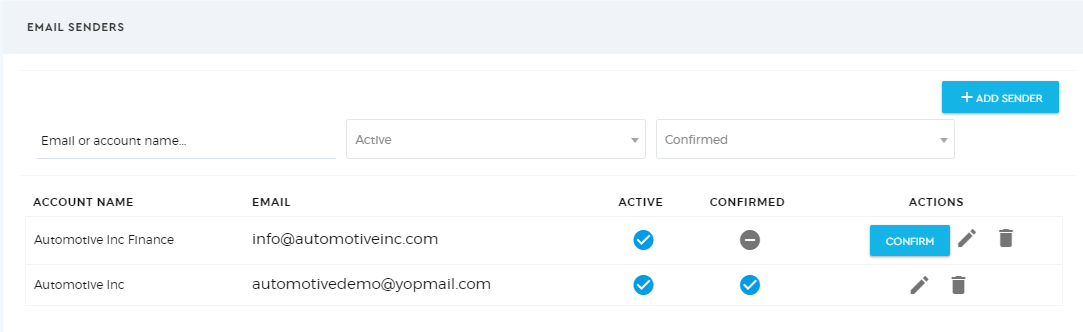
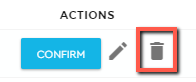
2. Click the ‘trash bin’ icon.
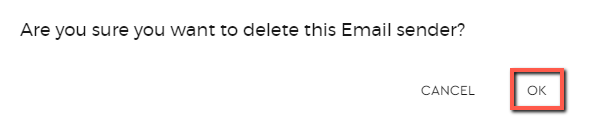
3. A prompt will appear. Click ‘OK’ to proceed.
To assign an email sender to a module:
1. Under the Default Senders tab, you can select the default email sender to be used on different modules.
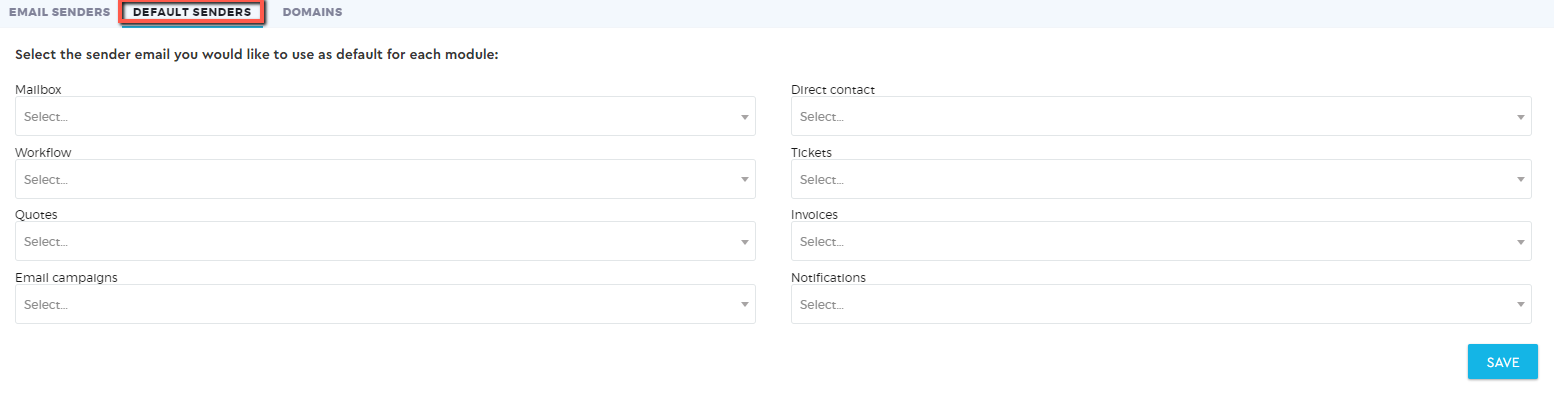
2. Assign an email senders to a module by clicking on the dropdown menu. This is optional. Below is the list of modules available:
| Mailbox | Any emails sent from the mailbox |
| Direct Contact | Any emails sent by clicking the ‘send email’  button via the contacts/leads/prospects/customers modules button via the contacts/leads/prospects/customers modules |
| Workflow | Any emails triggered using workflow automation |
| Tickets | Any emails sent using Ticketing automation |
| Quotes | Any quotes sent as an email |
| Invoices | Any invoice sent as an email |
| Email Campaigns | Any emails sent using the Email Campaign module |
| Notifications | Any system email notifications |
3. Click the  button to apply the changes.