Add Customer
To manually add customers:
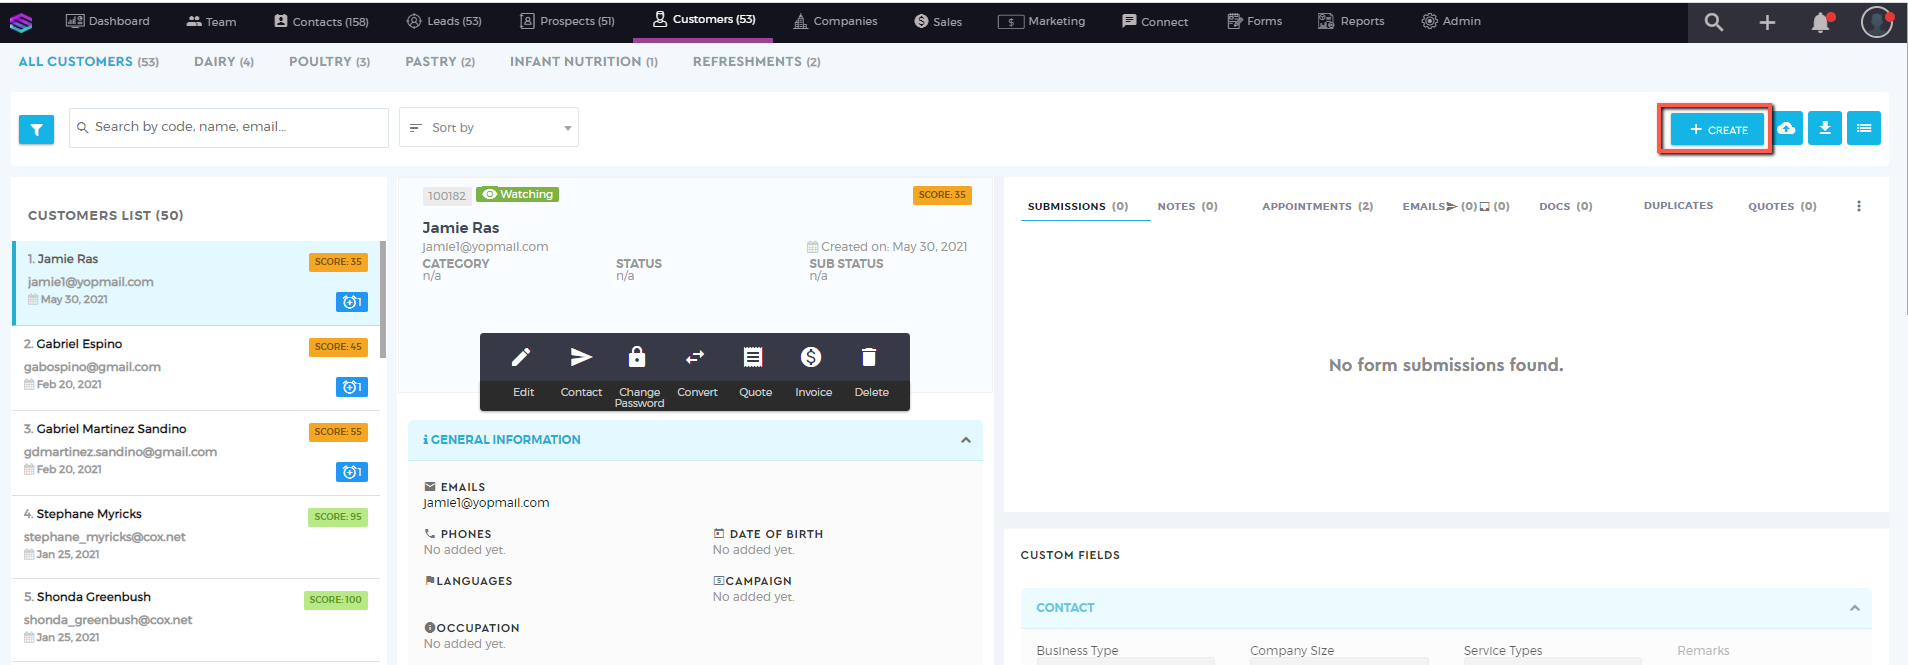
1. Go to the Customers tab on the main navigation bar.

2. To add a new Customer, click on the ‘+Create’ button located at the upper right corner of the screen.
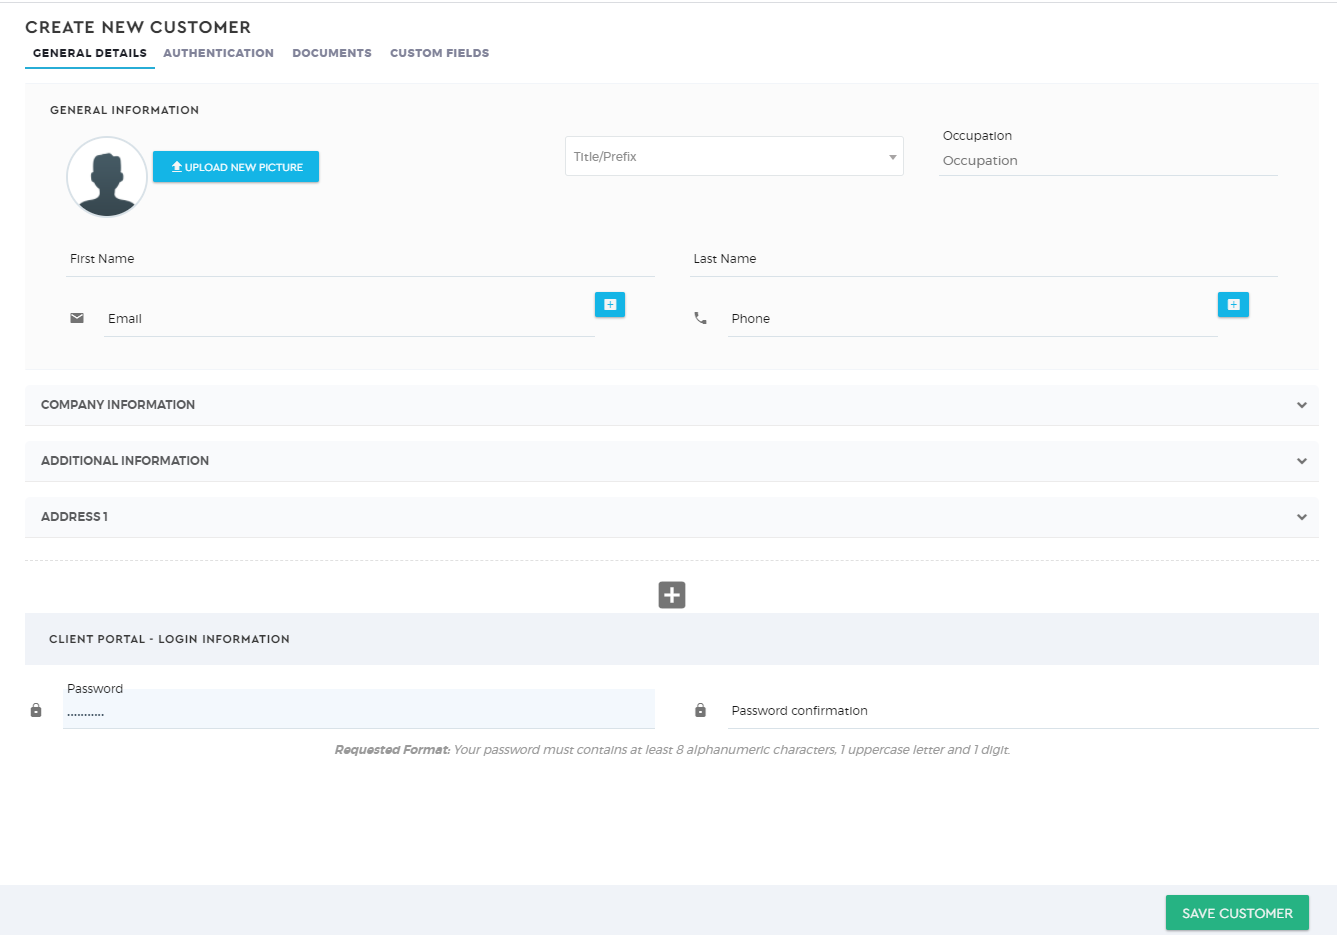
3. Fill out the necessary fields. Do not miss out on the required fields, otherwise, you will not be able to save the data.
4. Under the Additional Information is where you can assign your customer to any of the following:
- Source
- Categories
- Status
- Sub-status
- Managers
- Vendors
- Departments
- Campaign
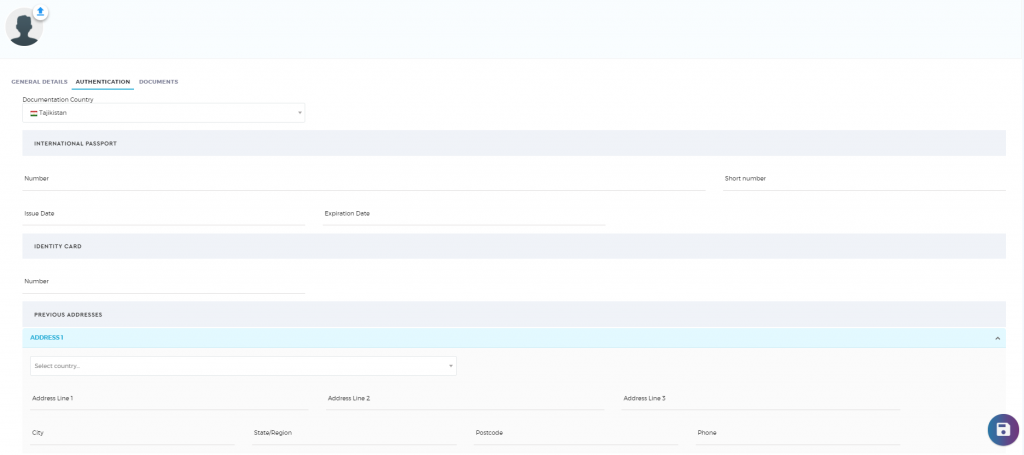
5. For a safer onboarding process, you can add the authentication details related to your Customer. Click the ‘Authentication’ tab.
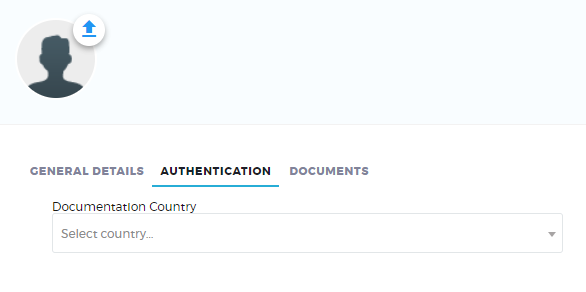
6. Fill out the details.
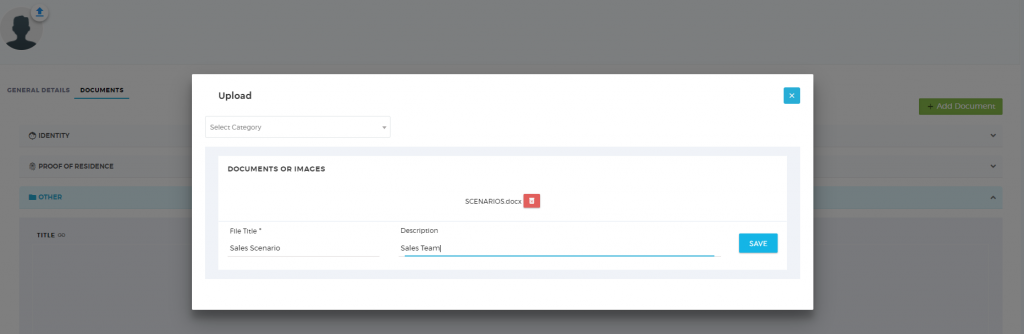
7. Should you need to add supporting documents to your Customer’s profile, click the ‘Documents’ tab.

8. Choose the file you want to upload. Fill out the details of your File Title and Description and click ‘Save’ once done.
9. Once you have finalized all your data, click on the ‘Save Customer‘.
To import bulk customers:
1. Go to the Customers tab on the main navigation bar.

2. To import contacts in bulk, click 

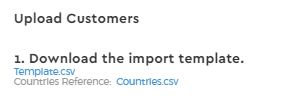
3. Download the CSV template. This CSV template is your reference for the attributes that you need to complete in a spreadsheet so you can upload your contacts in bulk. You can also download the countries.csv file as a reference if you want to add the Country details.
4. Fill out the template. Insert your data into the import template. Please keep the structure of the file. You will find an example of how the data should look inside the template.

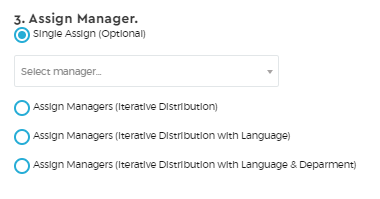
5. Optional Step: Associate your customers with a manager. Make sure that you have set up your Manager list before assigning your customers to a manager.
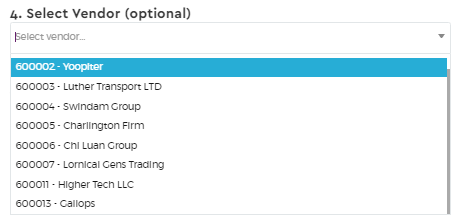
6. Optional Step: Associate your customers with a Vendor. Make sure that you have set up your Vendor list before assigning your customers to a vendor.
7. Optional Step: Associate your customers with a Department. Make sure that you have set up your Department list before assigning your customers to a vendor.
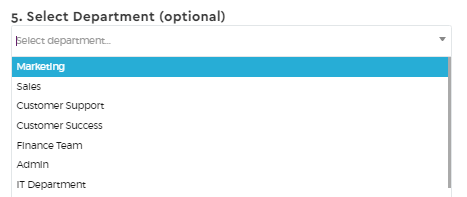
8. Optional Step: Select the source of your customers. Please note that the options under the source will only be available once you have defined your Source List.

9. Once you have followed the above steps, click ‘Choose File’ to upload your filled out CSV template then click ‘Submit‘.

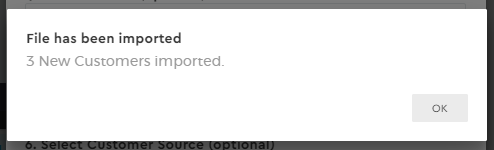
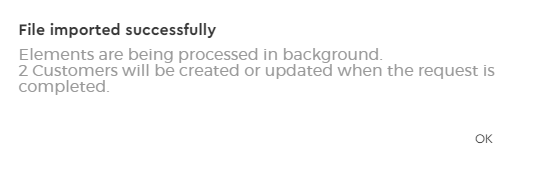
10. You will receive a confirmation message that your data has been successfully uploaded provided that there are no errors.
Should there be an error with your data, you will be asked if you want to continue uploading the file regardless of the error.
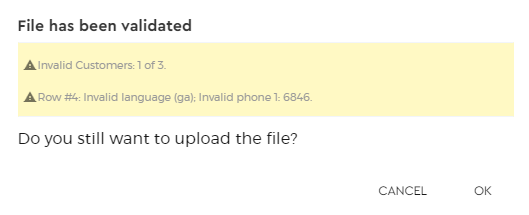
Click ‘OK‘ if you wish to proceed, otherwise click ‘Cancel‘.
Click ‘OK‘ then refresh your page.