Compose Email
Let us discuss what you need to know in sending an email from the CRM.
To compose an email manually in the CRM, please follow the below steps:
1. On the menu bar, navigate to the ‘Connect’ tab and click on ‘Sent Emails‘

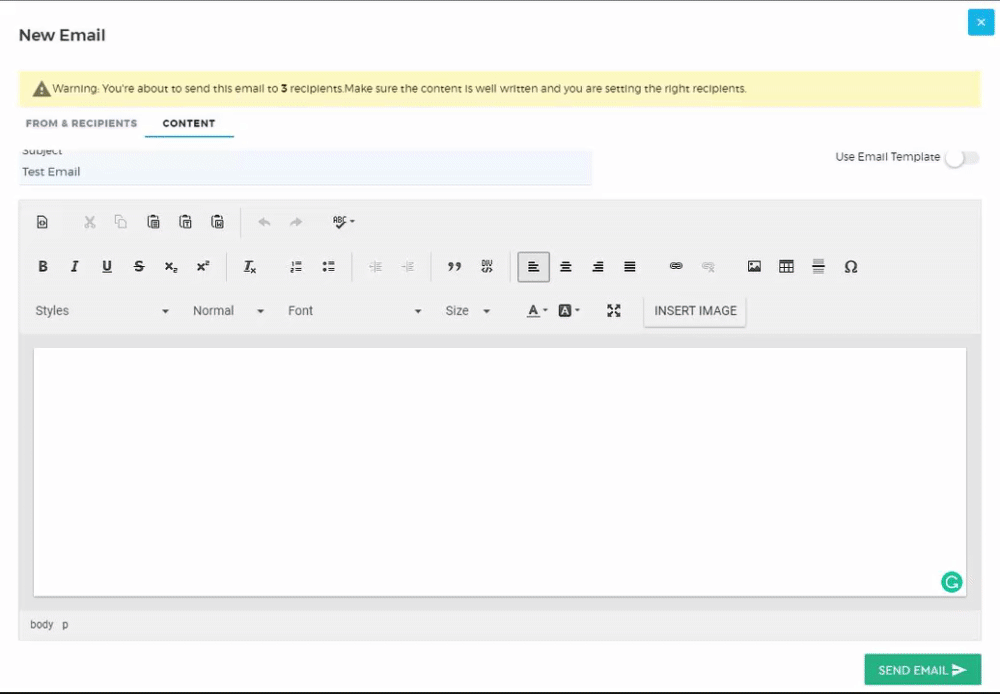
2. Click on ‘New Email‘  on the upper right corner of the screen to start composing an email. A pop-up window will appear to set up your email content.
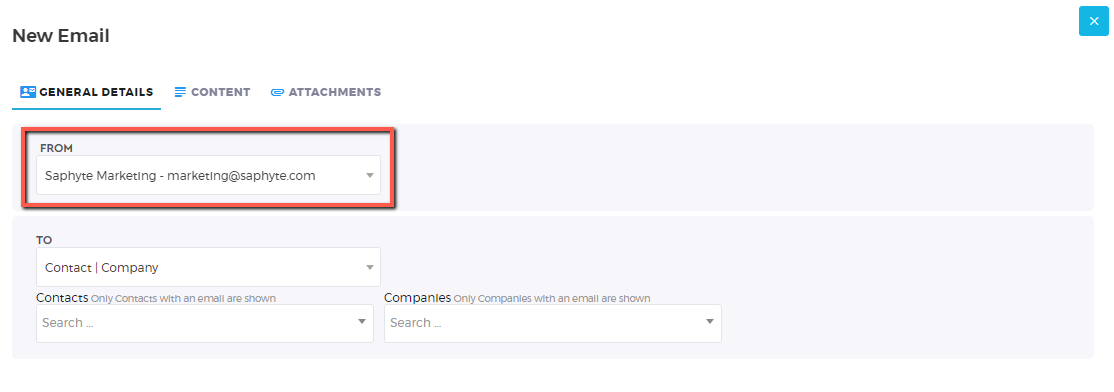
General Details
From Field – choose the Email Sender that you have synced in the system
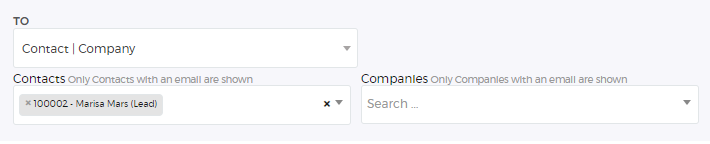
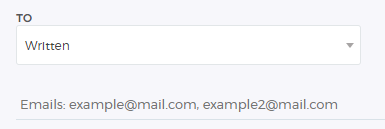
To Field – there are three ways to select your recipients:
- Contact/Company – you can easily select the email contacts from your database
- Written – addressed to a specific email
- Selection – entities that match a specific condition that you have set. For example, sending an email to leads who have email addresses.

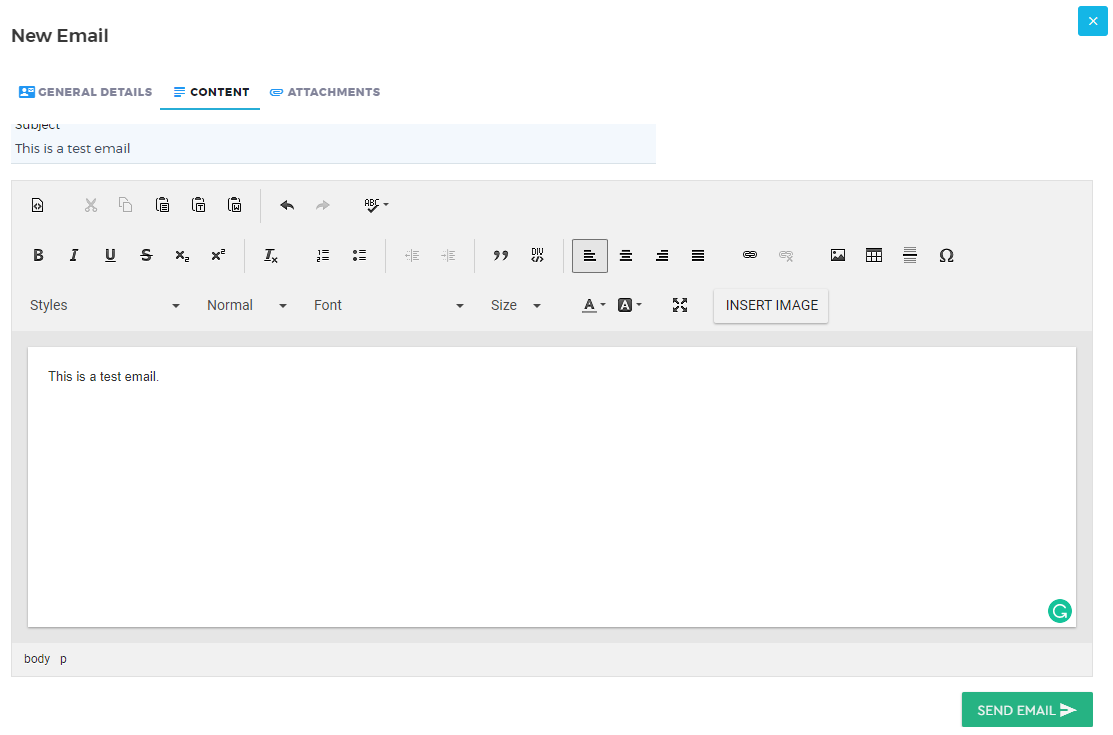
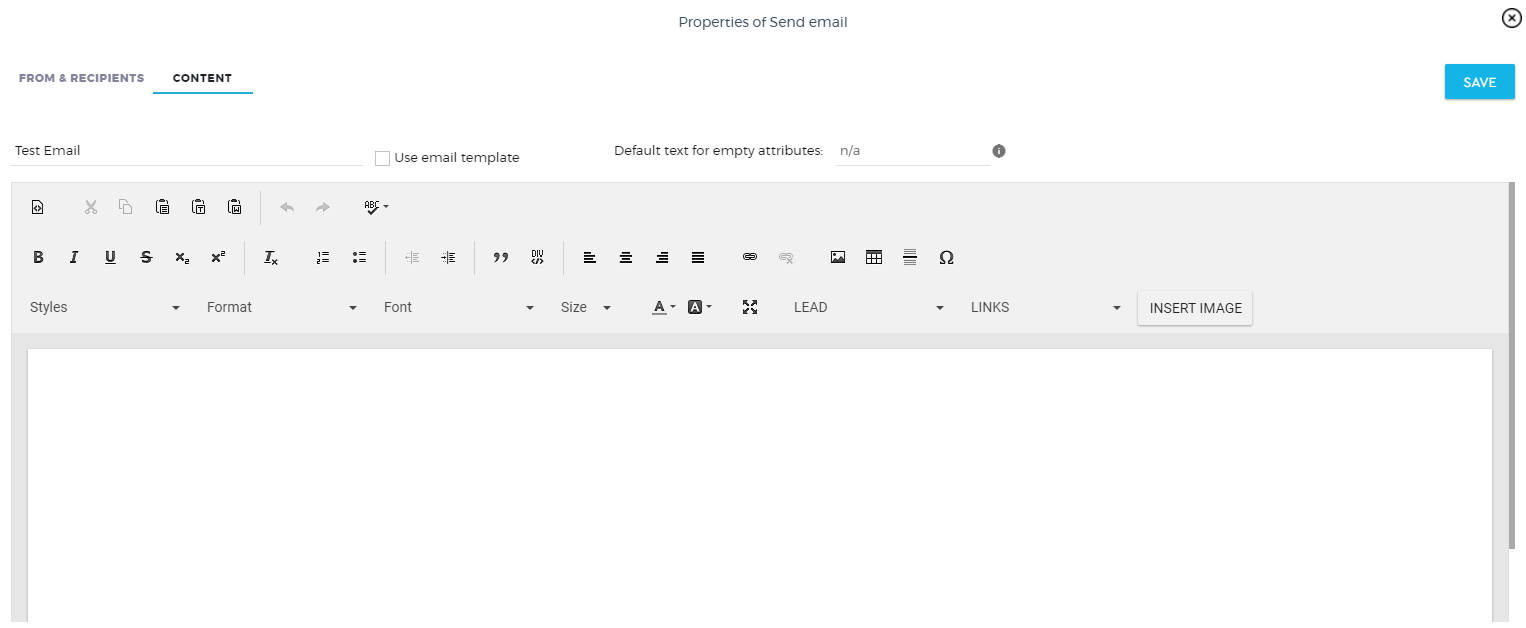
Content
Drafting your email content is made easier with Saphyte using the built-in content formatting tools.
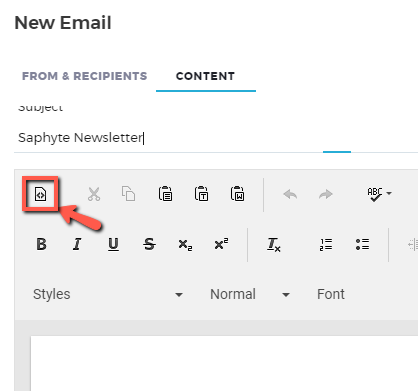
You can add your own HTML template by clicking the source icon 
.
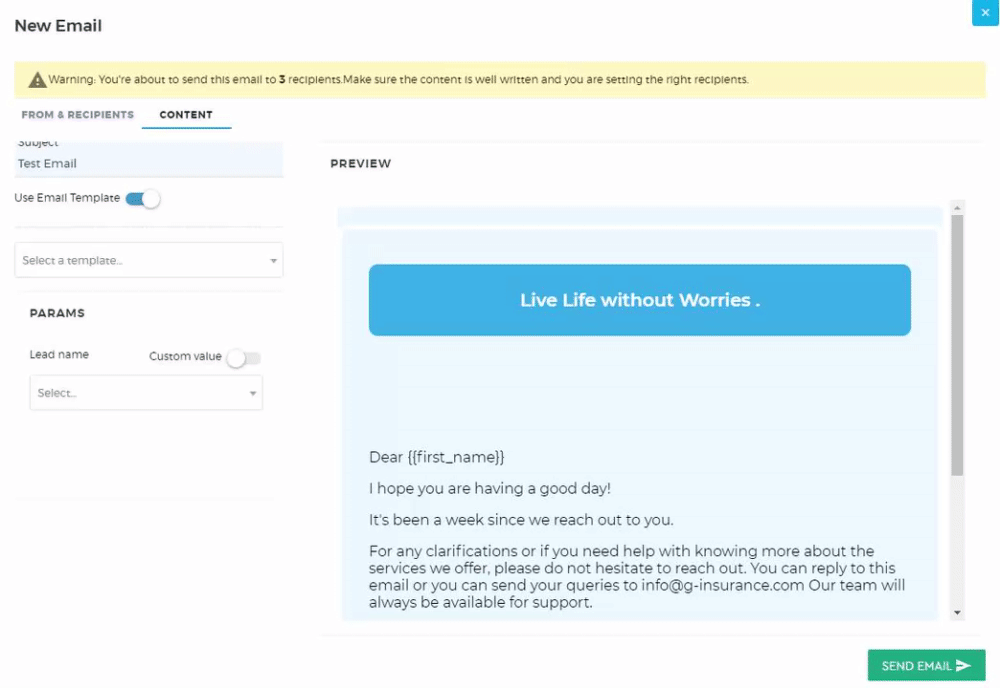
Or you can use the Custom Email templates you have stored in the system by toggling the ‘Use Email Template’. Please click here on Custom Email Templates for more details.
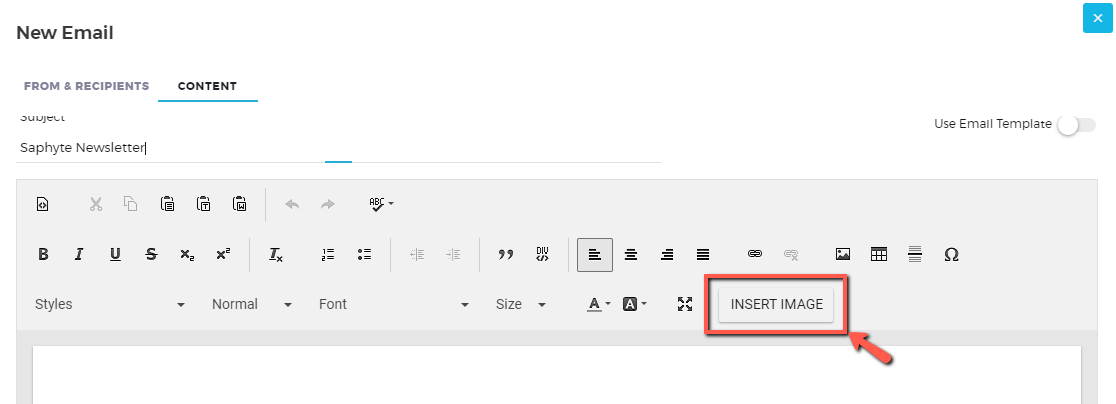
You can also add images in your email body by clicking the ‘Insert Image’ icon  from your Media Library
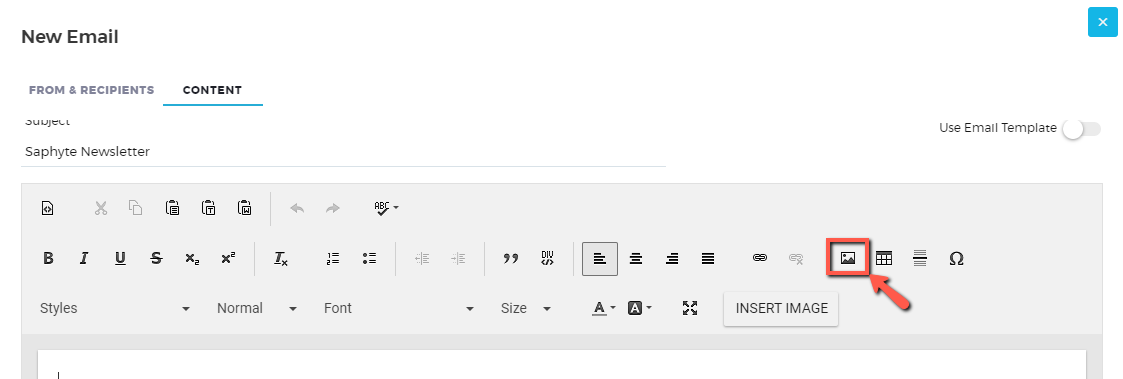
Or you can also add images from URLs or links by clicking the ‘Image’ icon 
Setting Email Parameters
Parameters are variables that you can set in your email content that automatically pull up the data from your existing database and populate it as an input value on the specific attributes you have set.
Instead of manually typing the recipient’s name in all your emails (that takes a lot of manual work), you can set the parameter: {{recipient_name}} and the content will automatically map the recipient’s name and attribute it to the variable.
When setting the parameters, you should follow the below format:
| Correct | Wrong |
| {{parameter_name}} | {{ invalid_parameter }} {{invalid.parameter2}} |
| Example: {{customer_name}} {{first_name}} | Example: {{customer.name}} {{ customer_name }} |
You can set the above parameters in custom email templates.
When using a custom email template, you can select from the list of attributes the value you want to be populated on the parameter you have set.
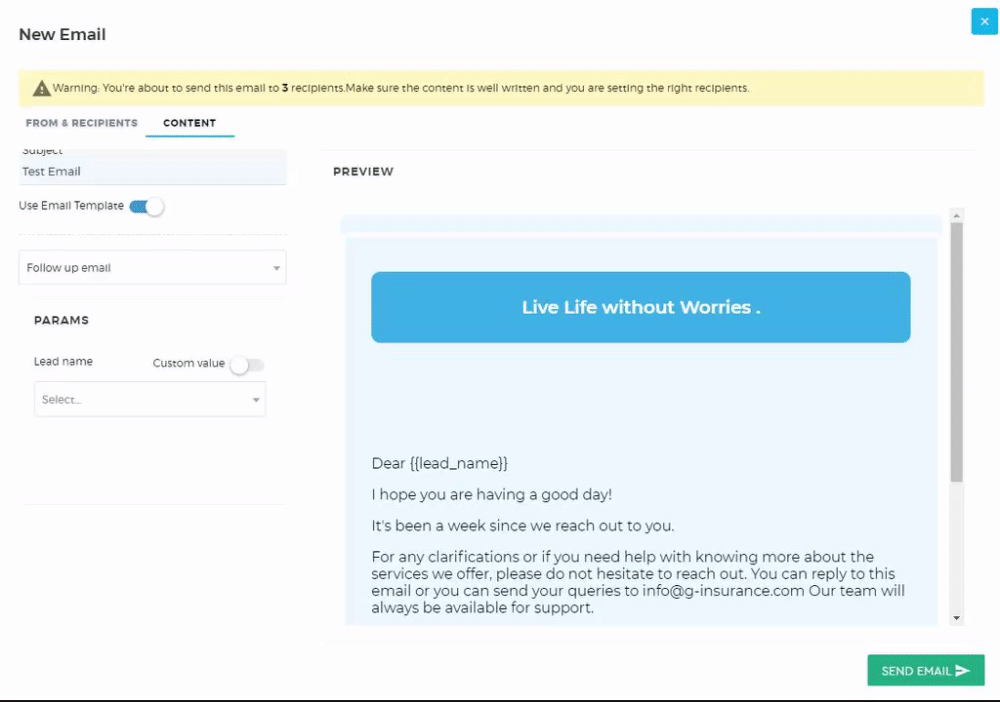
As an example above, {{first_name}} is the parameter set. Under the Params section, Client First Name is used as the value. When the email will be sent out, all the first names of your contacts will be populated on the parameter set.
You can also opt to use a custom value if the value you would like to set in the parameter is static or generic.
Setting Email Attributes
Another easy way of auto-populating the values in your email is using the email node in your workflow.
To pull up the attributes, your email node must be connected to either an entity node or a form node.
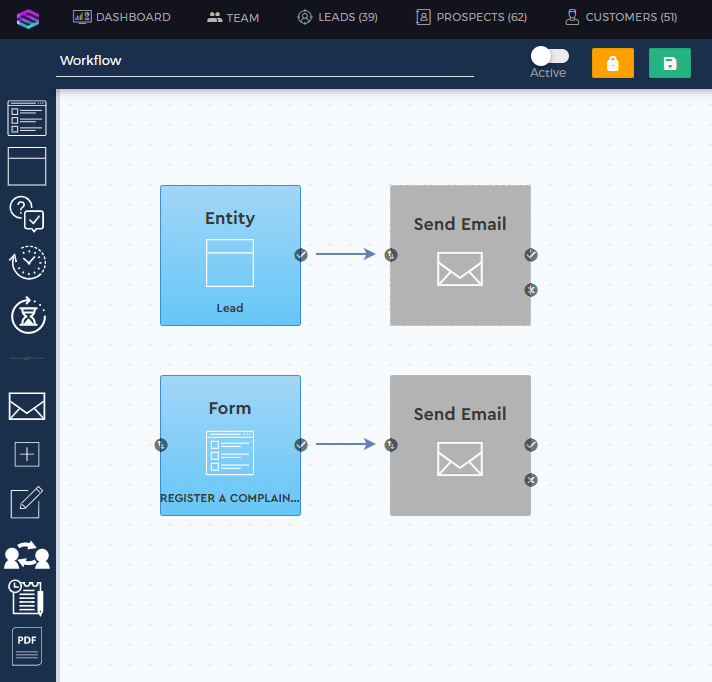
Double click the Send Email node. Here is where you manage the email recipient and content.
Click on the Content tab to add your email content.
Select the attributes from the drop-down options labeled ‘Leads‘ or ‘Links‘. Note that the label ‘Lead’ will change depending on the entity you have selected.
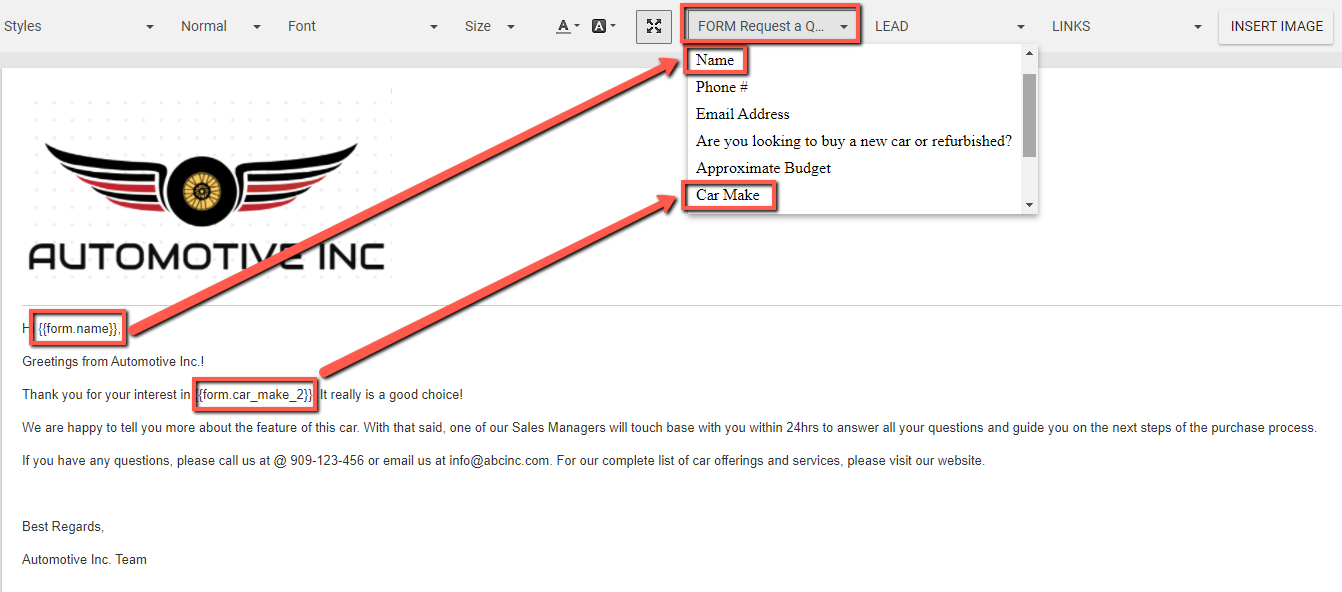
By setting the attributes, there is no need to manually input the values every time you will send out an email.