Facebook Integration
View, manage, and automatically capture leads in Saphyte CRM by connecting it to Facebook.
Saphyte’s Facebook integration will help you to save your time and efforts spent on the lead management process manually in CSV files for the Leads generated on a Facebook page. Saphyte will automatically capture overall leads from a Facebook page when prospecting visitors will fill in the inquiry form and assign it to the respective sales representative for further action.
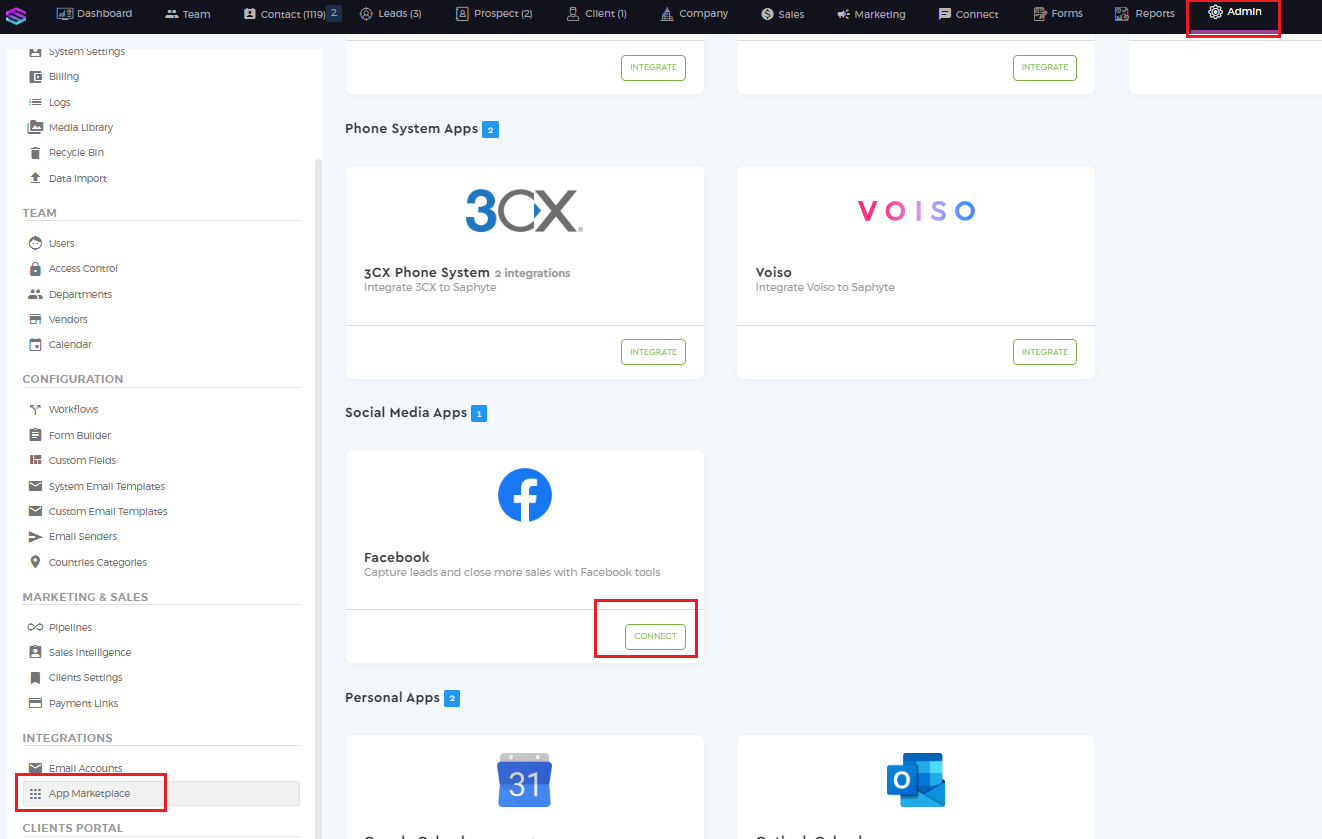
1. Click on Admin > Integration Menu > App Marketplace and select ‘Facebook‘ in Social Media Apps section and click on Connect button.
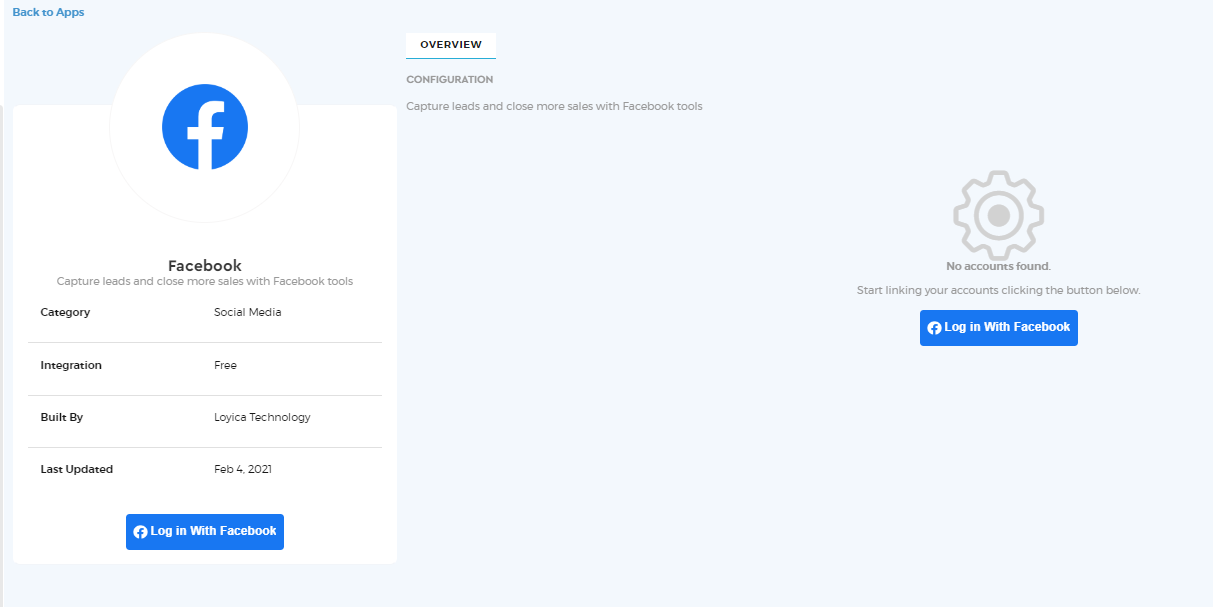
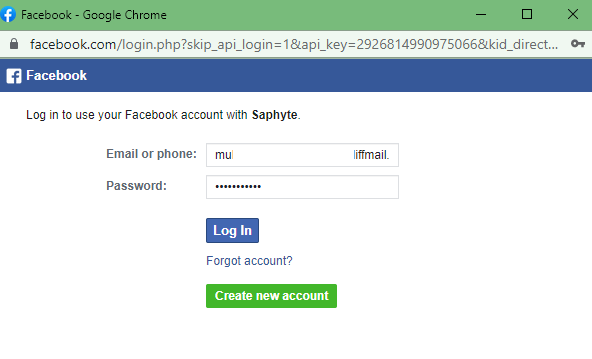
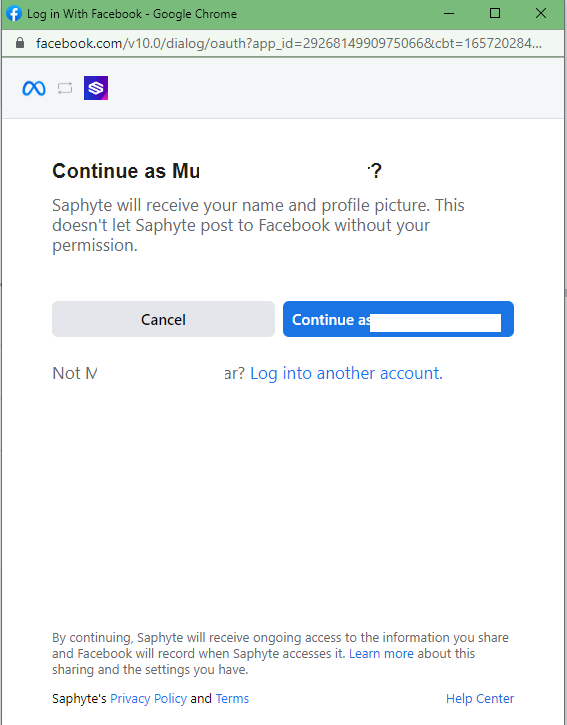
2. Login with Facebook to allow your workspace to access your Facebook account.
3. You may either create a new Facebook page or integrate the existing Facebook page with your Saphyte CRM workspace.
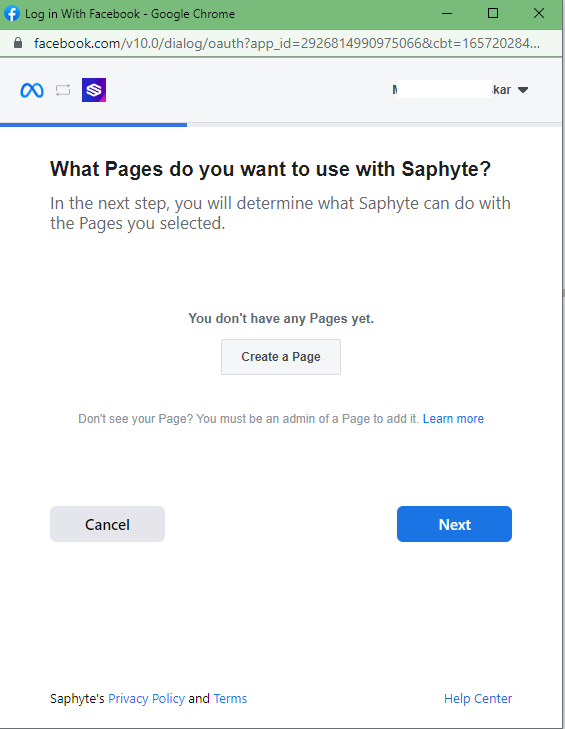
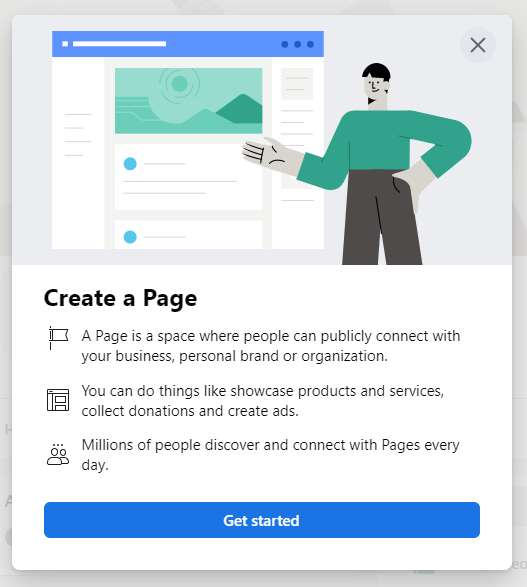
4. In the above case since there is no Facebook page, the user should be creating their company page for generating leads and managing them through the Saphyte CRM workspace.
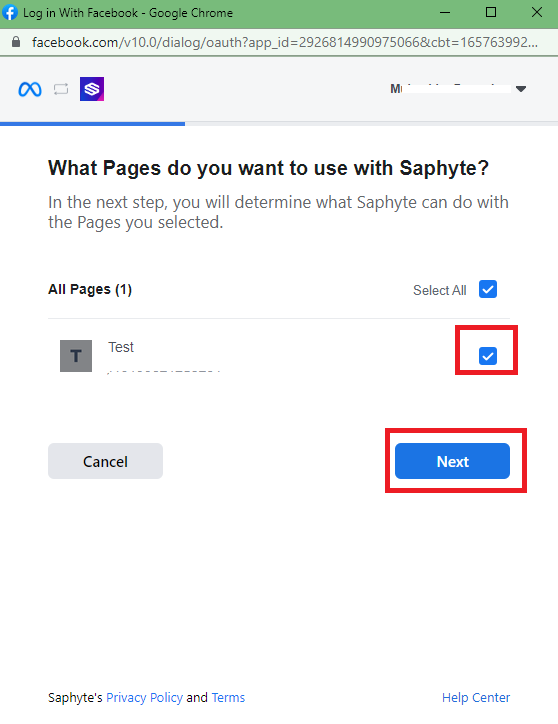
5. Once the Facebook page has been created/the existing Facebook page has been selected, click on the Next button.
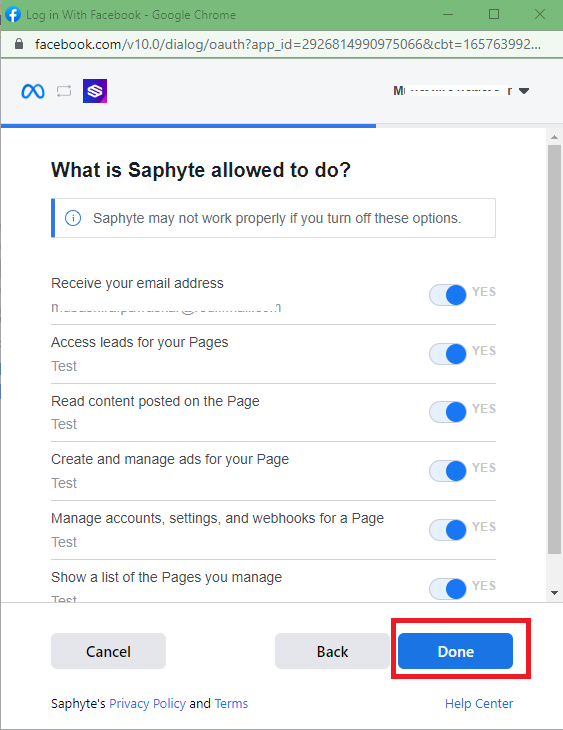
6. Provide access for Saphyte to access your page and capture all relevant information for successful lead creation and click on Done.
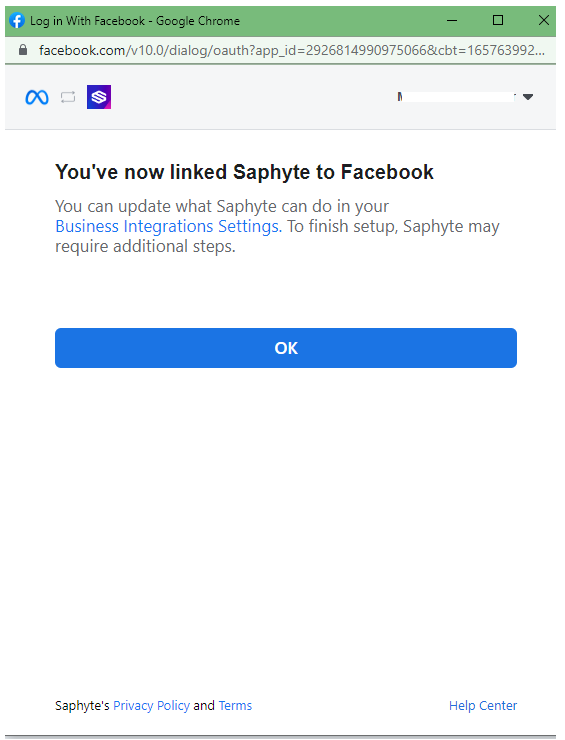
7. Click on OK to link your Saphyte workspace to Facebook.
8. A successful Facebook integration will appear in the configuration section of your Saphyte workspace. You have an option to Activate and Inactive the integration and a Delete button to delete the integration.
a). Active/Inactive 

b). Delete 

Integrate Saphyte workspace with Facebook ads.
In order to integrate leads from Facebook to your Saphyte workspace, there has to be an ad posted on your Facebook page and the fields included in the ad form are to be mapped in the Saphyte workspace.
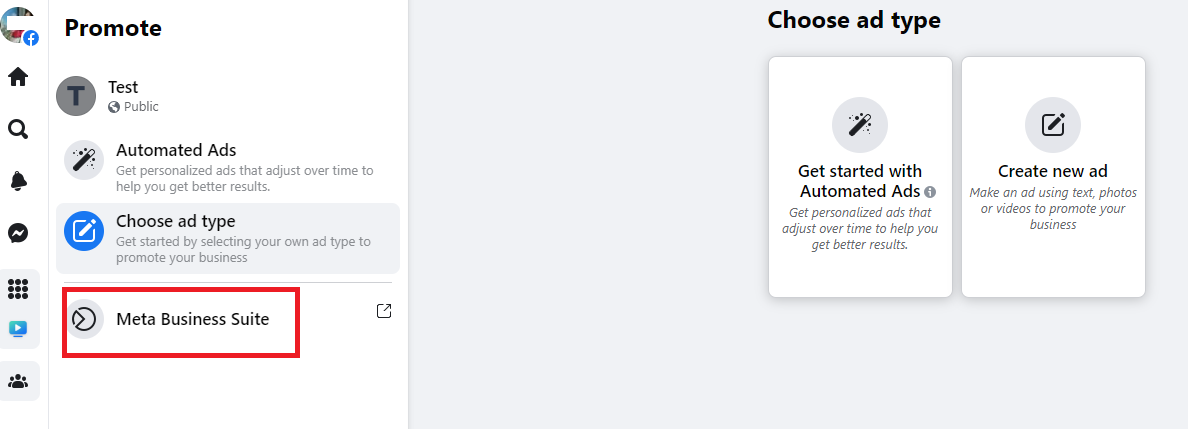
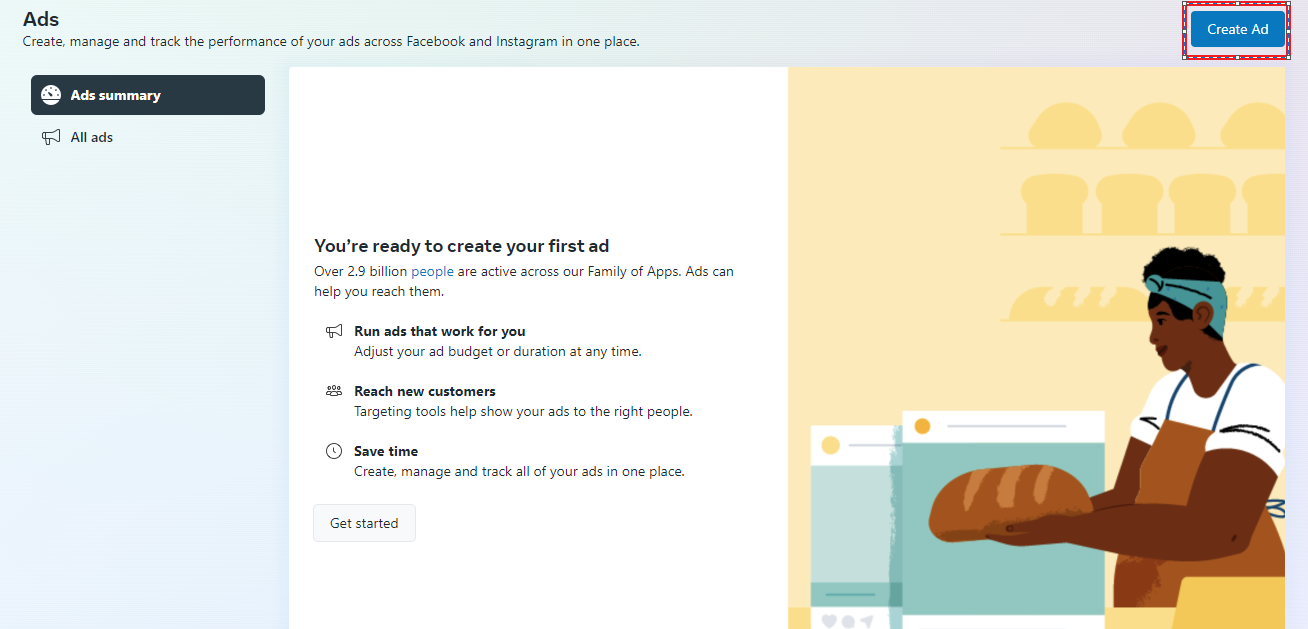
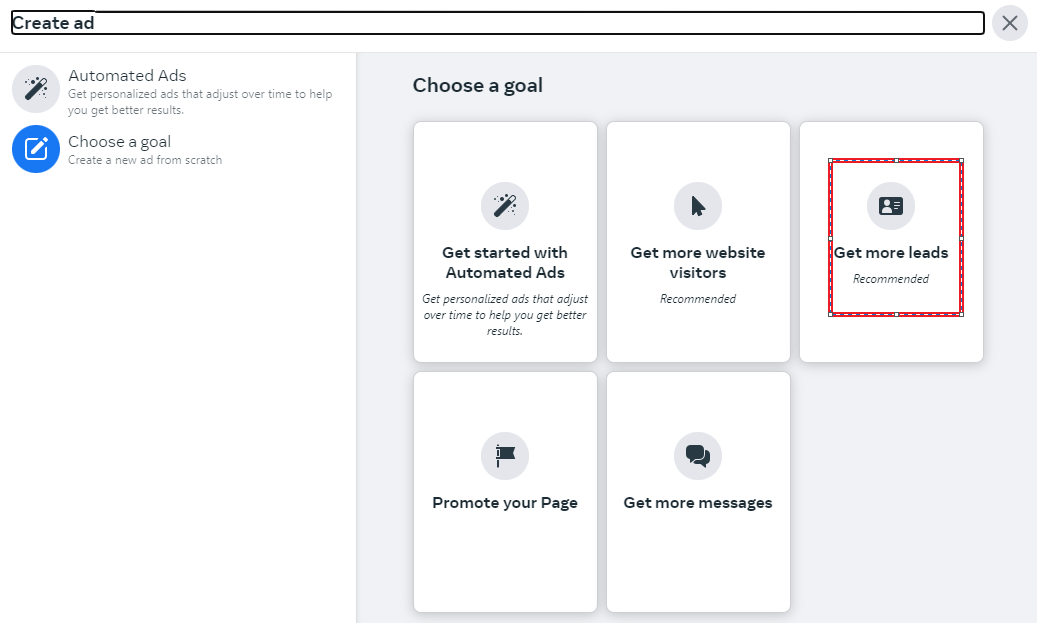
1. Click on the ‘Meta Business Suite’ and ‘Create ad‘ buttons.
2. Select the ‘Get more leads‘ option.
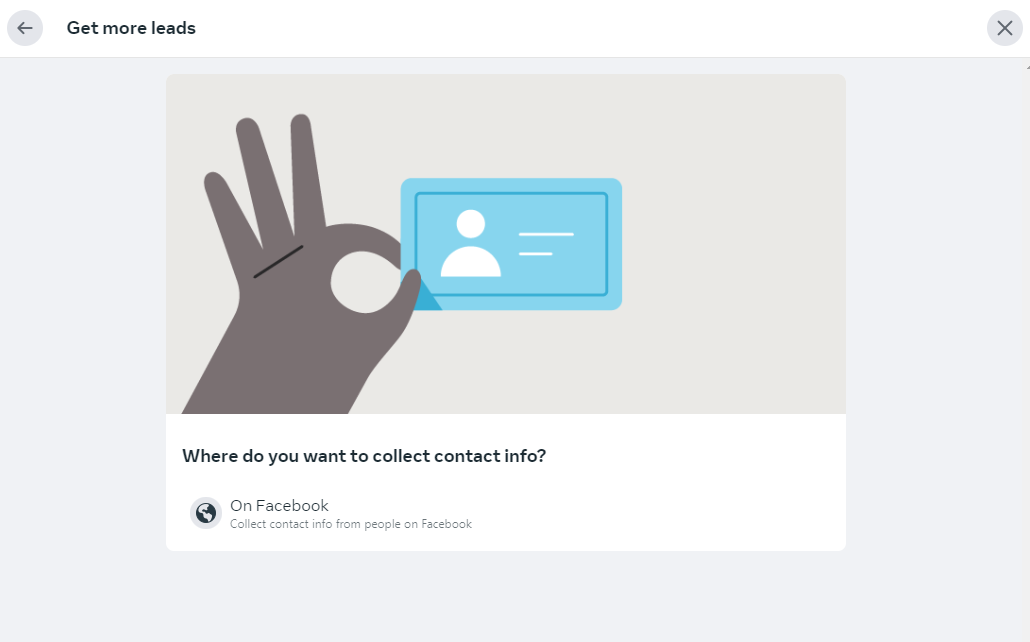
3. Select ‘On Facebook’ to capture details of leads retrieved from Facebook.
4. Add card details, verify the projected amount to be charged for services offered by Facebook on the next stage, and Click on ‘Promote Now’ to activate the Ad.

Facebook Forms & Workflow Set up to Capture Leads from Facebook
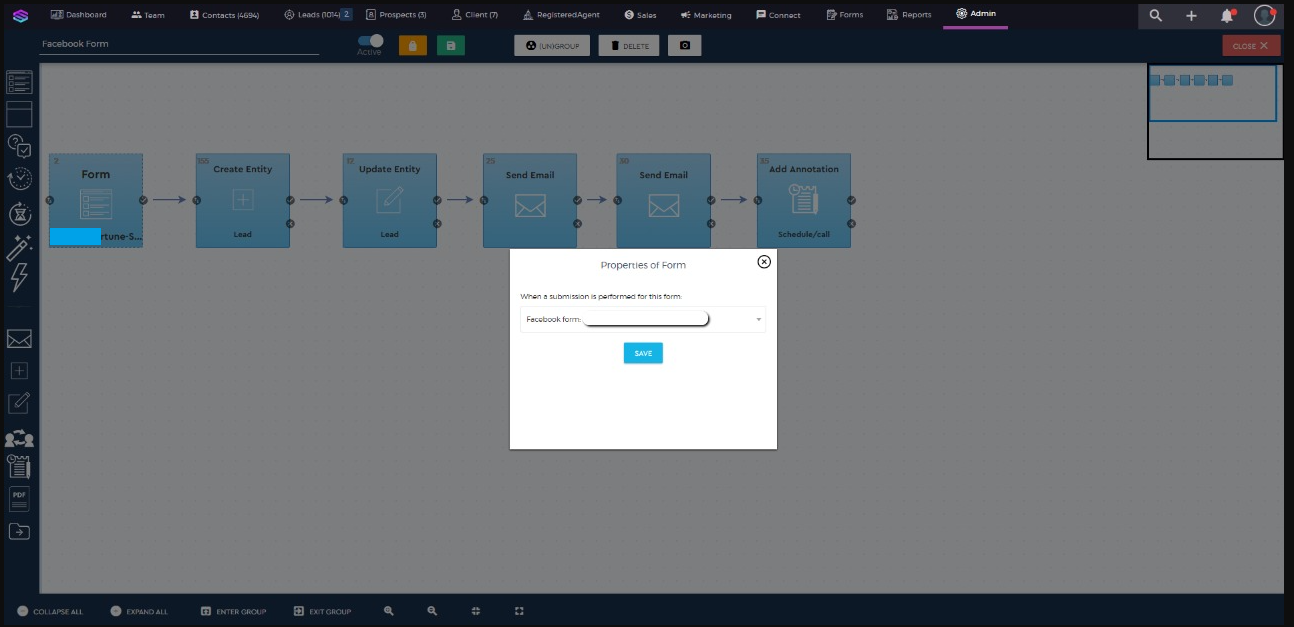
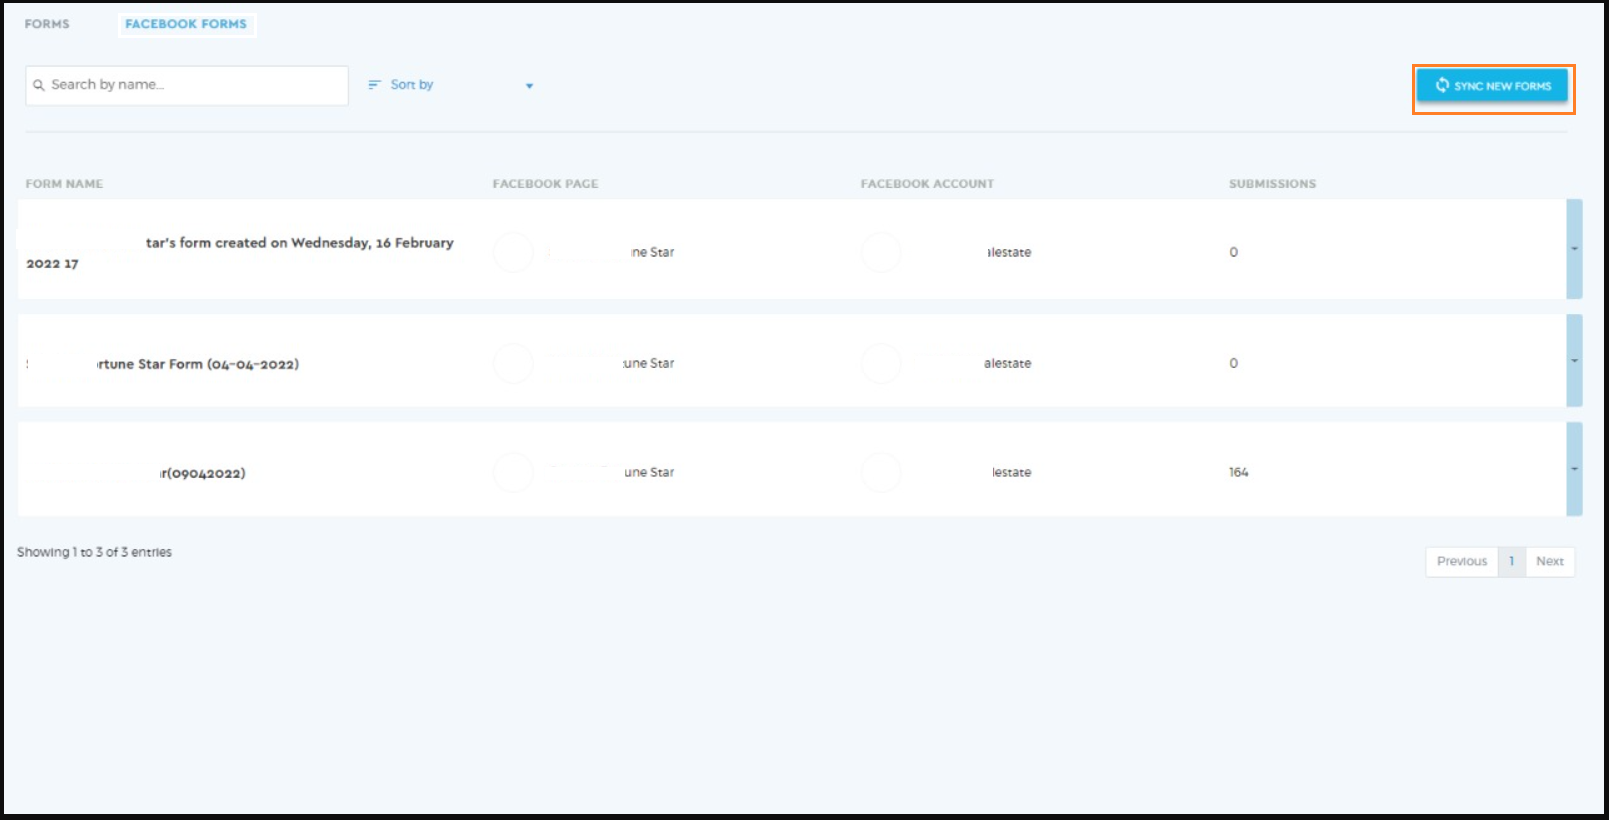
1. Facebook ad forms to be mapped and details to be synced in the Saphyte workspace through the Facebook Forms. Facebook Forms are generated automatically when you sync/integrate your workspace into your Facebook account under the Form Builder section.
2. If users want to check the eligibility of Leads before it is assigned or created in Lead Entity. Users can simply check in the submissions section and sort qualifying leads.
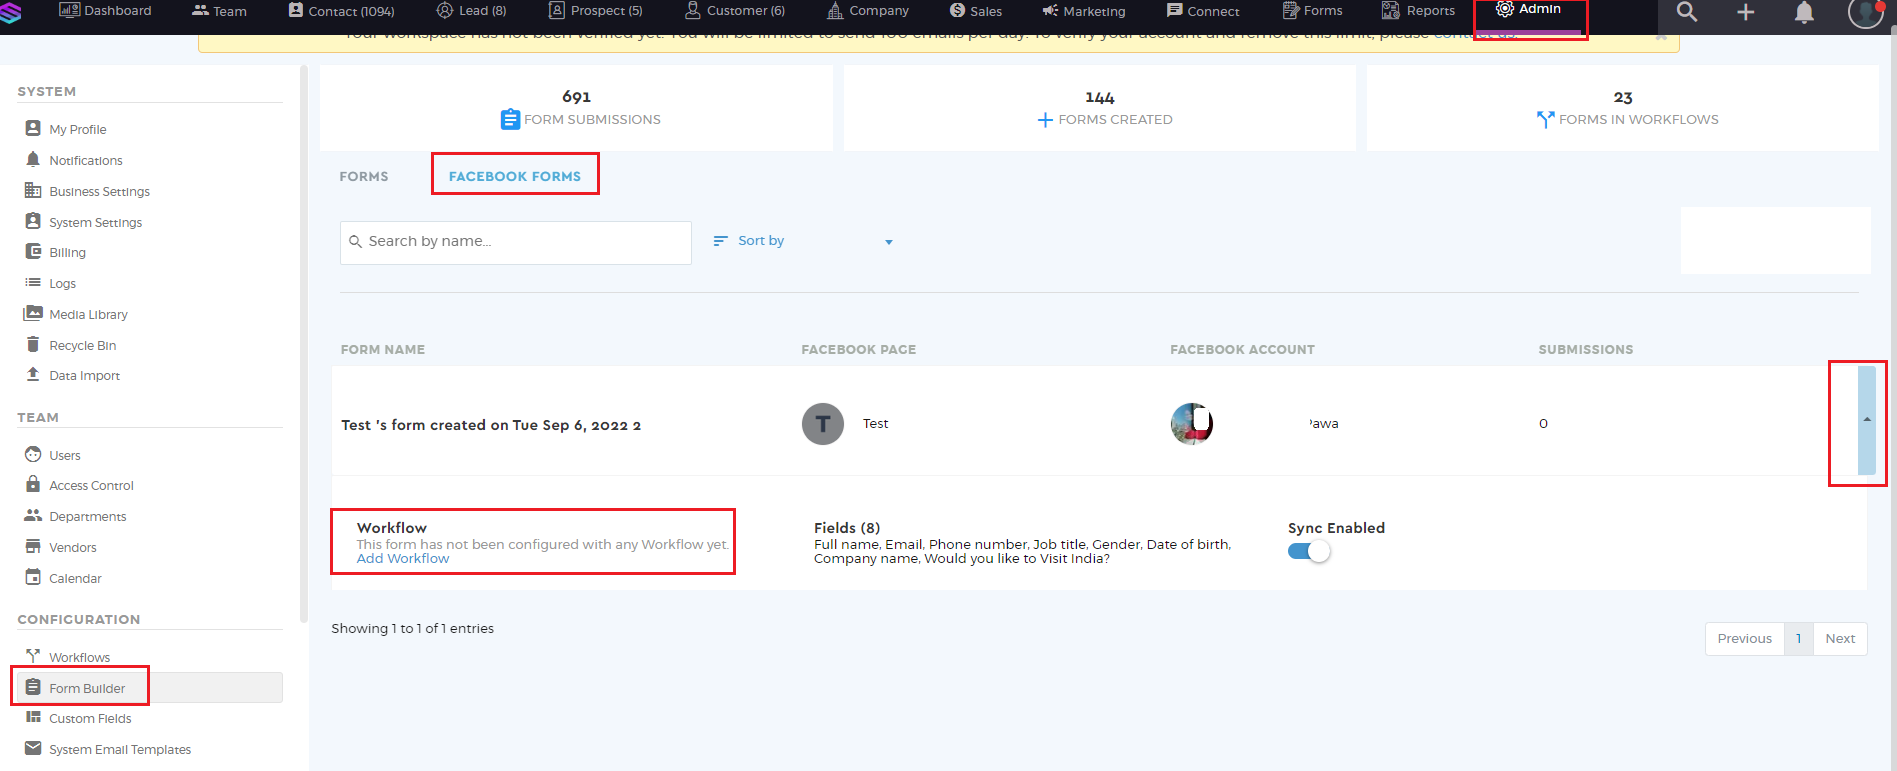
3. There is a workflow set up for Facebook integration that makes the process smooth and captures leads and assigned them to its users within a workspace.
4. Once the form has been synced, we can associate a workflow and Merge Existing Leads/Create New leads in the Saphyte workspace. In both cases, the email id of the client will be an identifier to check the duplicate lead.
Note – The additional fields created on Facebook forms should be available in your workspace(General or Custom Fields)