Workflows
Workflow Nodes are the action and step placeholder components in different shapes, representing each action in your workflow. These workflow nodes also display unique numeric values at the corner of the placeholder of each node for identification purposes for any further investigation in case of any discrepancy or error.

What are the Workflow Nodes?
Familiarizing yourself with the workflow nodes will make it easy for you to create and manage your workflows. Check below how each node functions in your workflow toolbar.
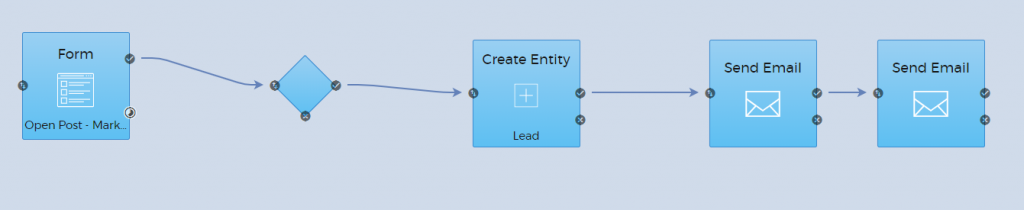
 | Form | You can initiate a workflow using a Form node. It will allow you to choose from one of the forms that you have created in the CRM. |
 | Entity | You can also initiate a workflow using an Entity node. The Entity node will be triggered when an entity is either created, updated, or converted. |
 | Condition | The Condition node is a qualifier for every workflow process. For example, if you want to only qualify the leads who are English speakers, then you can set your condition properties. |
 | Schedule | The Schedule node is useful in email marketing. This allows you to set up your schedule for your emails. This node is always connected to the email node. |
 | Delay | The Delay node allows you to set up “delay” or pre-determined intervals when sending auto-responder or sequence emails. You can set your “Delay” according to Specific Count of Days and/or Time, Until a Day of the Week and/or Time, Until Event Happens (when the email is clicked or opened) |
| Custom Action | Custom Action is designed to execute or perform any activity/update based on the desired condition in bulk for a contact database. It allows you to pull the database while adding a condition/conditions in order to initiate/execute proceeding actions in a workflow. It should be applied to a specific entity at a time. | |
| Trigger | Trigger helps to schedule an action based on a date range available in General or Custom Field, to execute proceeding action on the day the date has been reached or before several days, weeks, or months the of a date stored in the condition source. It is useful for sending Birthday mailers or payment reminders to the contacts. You may set execution time and add more conditions to pre-define the database for the execution of Trigger. | |
 | Send Email | The Send Email node allows you to automate sending your emails. Click here for an additional reference regarding emails. |
 | Create an Entity | The Create Entity node will automatically create your entity profile in the CRM. |
 | Update Entity | The Update Entity node will allow you to update your existing entity’s details based on your own conditions. |
 | Convert Entity | The Convert Entity node converts your clients to either Lead, Prospect, or Customer automatically based on your business process regarding conversions. |
 | Add Annotation | The Add Annotation node allows you to assign tasks to your entity. This node only works when it is connected to an entity. |
 | Generate PDF | The Generate PDF node has to be connected after a form as this will generate a PDF file of all the form submission information. This can be sent as an email attachment. |
| Update Stages | Update Stages is useful for Deals entity while creating a workflow for different stages of Deals. |

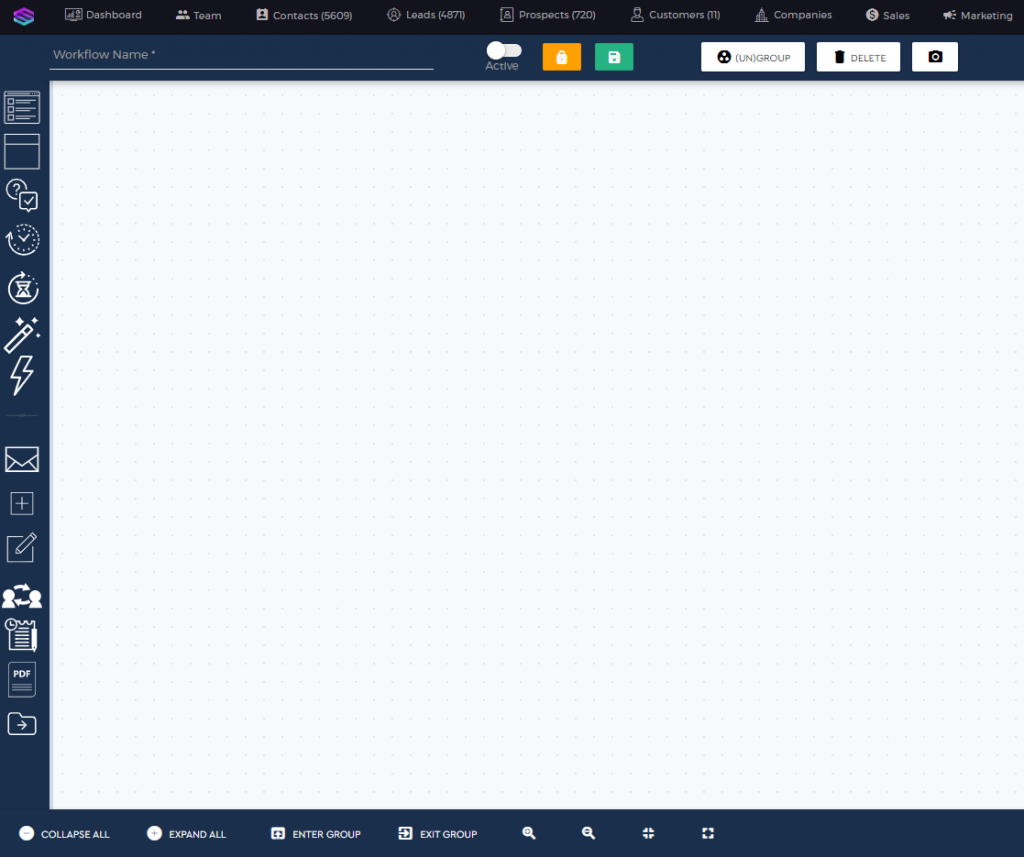
Familiarize yourself with the workflow’s main action buttons.
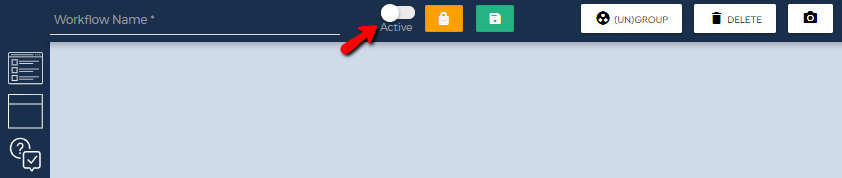
 | Active Status | This lets you activate or deactivate the workflow in the system. |
 | Workflow Access | This restricts workflow access to certain departments and vendors. |
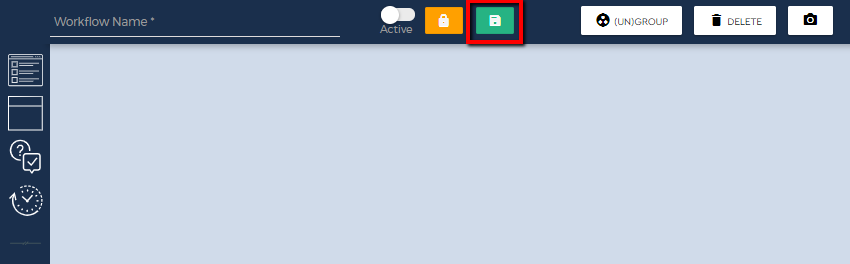
 | Save | This saves your workflow. |
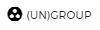 | Group/Ungroup | This allows you to group or ungroup your nodes. |
 | Duplicate Workflow | This allows you to Duplicate the existing workflow. |
 | Delete | This allows you to delete a node or an arrow from your workspace. |
 | Preview | This allows you to preview your whole workflow process and save it as a PDF file. |

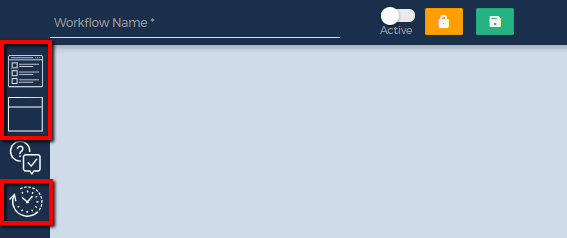
This explains the function of each icon for the viewing toolbar.
 | Collapse All | A collapsed view of your nodes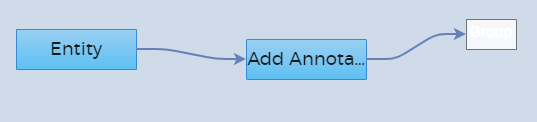 |
 | Expand All | This is the expanded view of the nodes.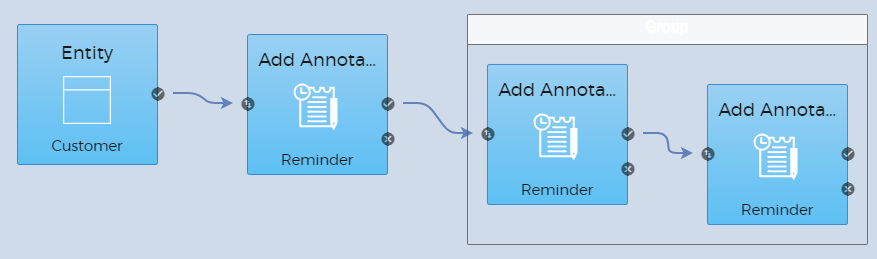 |
 | Enter Group | Isolates the grouped nodes |
 | Exit Group | Exit the view from the isolated grouped nodes |
 | Zoom In | Zooms the whole workspace in |
 | Zoom Out | Zooms the whole workspace out |
 | Normal View | Returns you to the normal view |
 | Zoomed View | Brings you to the zoomed-in view |
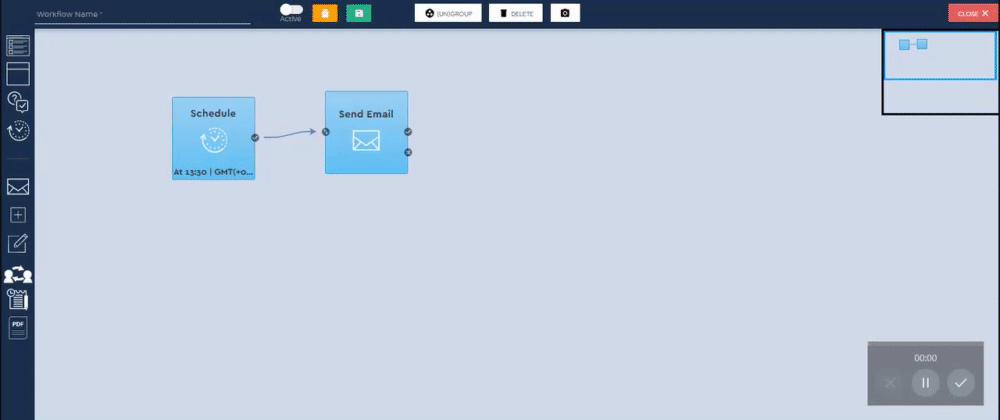
Automate sending your emails on a schedule. This workflow is useful when you want to send a newsletter or a promotion to your targeted list at a specific time.
To automate email schedule sending:
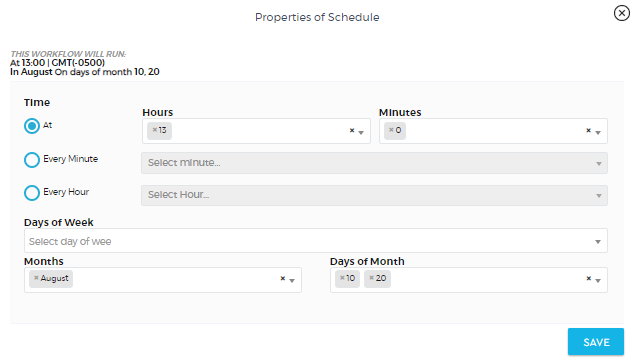
1. Drag the Schedule node as the initiator of your workflow. Double-click the Schedule node to set the timing on when you will send your email.
2. Set the exact time and date. You can choose to send the email at a specific time or by minute or hour interval. You can also choose to send it on different days of the week or on the exact days of the month.
3. Connect the ‘Send Email’ node to the Schedule node. The workflow will identify that sending an email is triggered based on the timing that was set on the Schedule node.

4. Double-click the ‘Send Email’ node to set up the properties of your email.
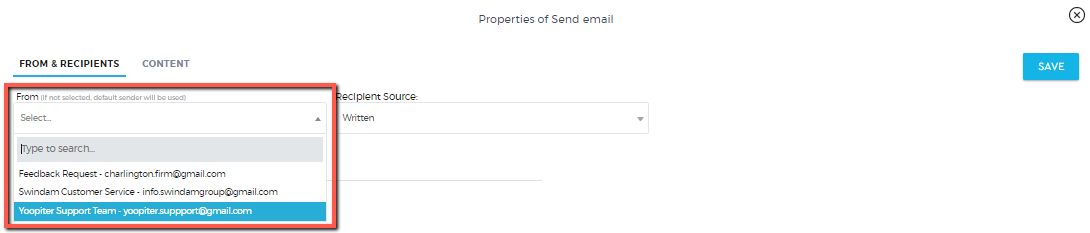
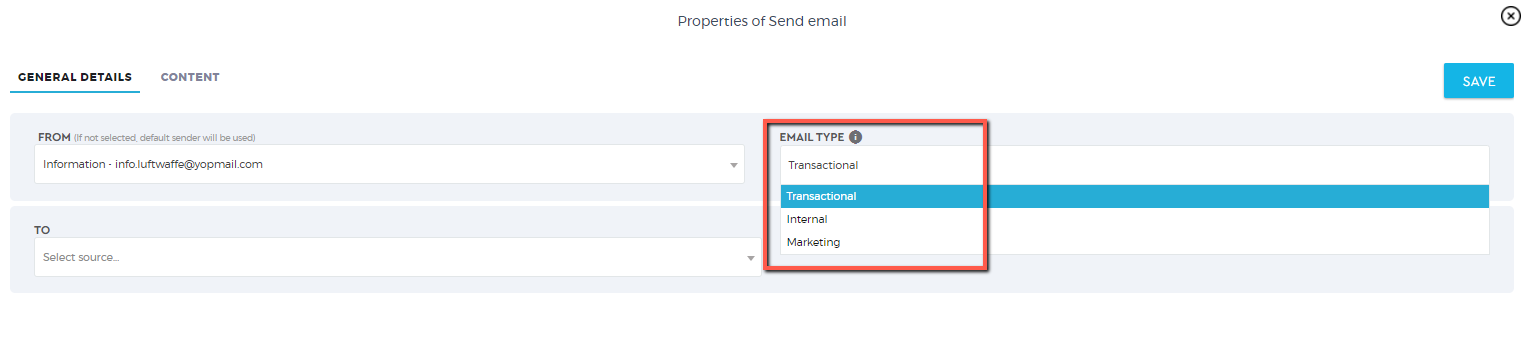
Transactional – Emails to be sent to your contacts database
Internal – Emails to be sent to your internal users or vendors
Marketing – This is used for drip email marketing analytics
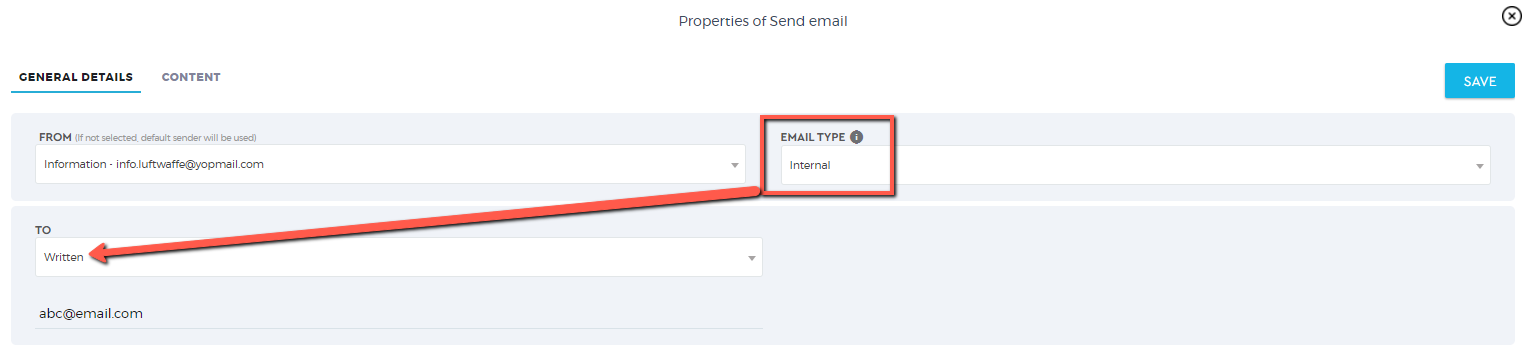
Email type: Internal
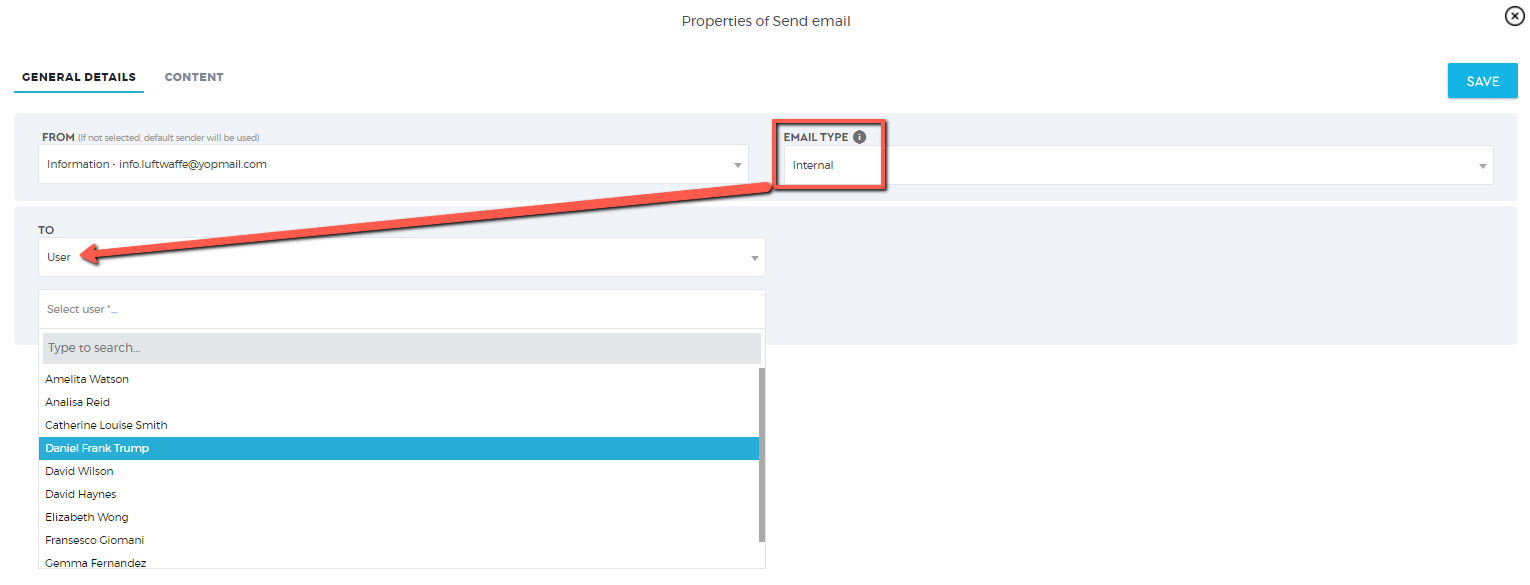
Email type: Internal
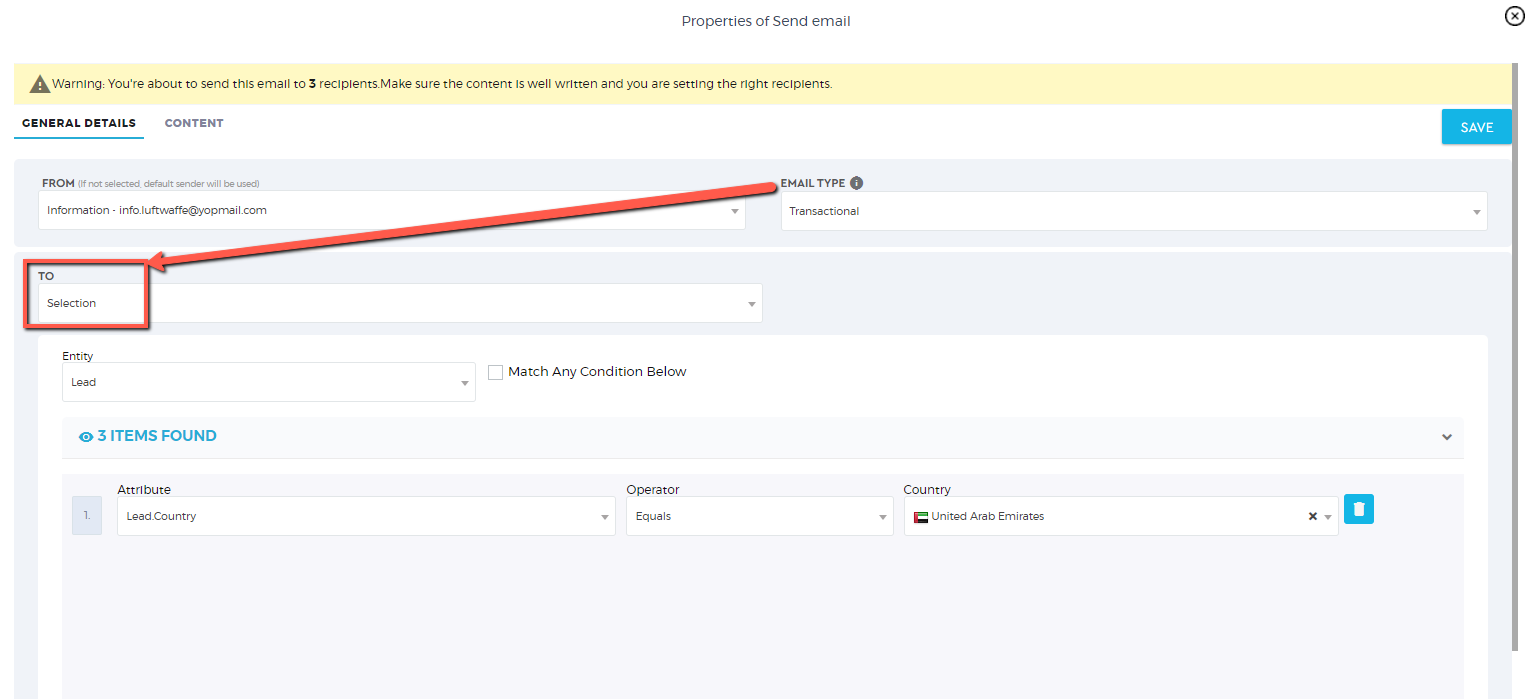
Email type: Transactional

5. Add the name of your workflow and enable it to ‘Active’. Once done, click the ‘Save’ icon.

Remove the repetitive and manual tasks from your process by automating them using the ‘Workflows‘ functionality. Teach the system what to automate by triggering certain actions based on conditions that you set.
With Saphyte, building your workflow is not that complicated. You can build your workflow and at the same time visualize it by dragging, dropping, and connecting workflow nodes.
There are many processes that you can automate using Saphyte and some of them we listed below:
- Onboarding Process
- KYC Procedure
- Drip Email Marketing – we can send emails in sequences and scheduling
- Schedule Newsletters and other marketing emails
- Newsletter Subscription (subscribe/unsubscribe)
- Auto Reminder (Payment, Docs) – user(s) will be reminded when it’s due to collect payments or when documents are expiring
- Client Survey/Feedback
- Automate capture of online/web forms such as Contact Us form and store the information in the CRM
- Auto-assign, Leads, Prospects, Customers to managers in different distribution types (such as Round Robin, Random, etc)
- Auto-email response / Auto-alerts
- Blacklist or Whitelist Countries
- Create users – activate or deactivate users
- Categorize Leads/Prospects/Customers
- Convert leads into prospects and customers
- Generate a PDF of the form response
- Verify emails
- Notifications/Reminders
- Auto-assign to Departments
- Auto-assign to Partners/Affiliates/Suppliers/Vendors
- Auto-assign leads to managers depending on languages
- Automatically create Company Profiles
- Identifies Lead Source
- Trigger automation based on Lead Scoring
- Identify duplicates
- Trigger automation based on Custom Field
How to create workflows?
1. Go to the Admin Panel.
2. Under the Configuration settings, click ‘Workflows’.

3. Click  to create a workflow.
4. Add a Workflow Name (this is a required field).

5. Drag and drop the initial node from the selection bar. Note that you can only initiate a workflow by a Form, Scheduler, or Entity node.
6. Connect the nodes together by dragging the line from the end of each node towards the connector of each node (you will see a line that automatically appears).
7. Make sure to activate your workflow before saving by ticking the active button. Setting it to active status means that the workflow is ready to perform automation once the nodes are triggered.
8. Save the workflow by clicking the ‘Save’ button.